¶ Performance Tips
PolypopLive relies on both the GPU and CPU to render effects and encode your scenes for streaming. As such, it needs to contend with the requirements of other apps, such as GPU intensive games.
This article will outline a few tips to help maximize performance.
¶ Frame-rates
PolypopLive will render at your display's native refresh rate when no outputs are enabled (e.g. no live-streaming, recording etc.). This means it may render at frame rates as high as 160/240 frames per seconds (for G-SYNC/FreeSync capable displays). The app does this to give a smooth editing experience. However, when live-streaming begins, the frame-rate will drop down to your configured Output setting (either 30 or 60 FPS) which means the GPU/CPU rendering overhead should reduce significantly. In addition, if you minimize the app during broadcast, the UI will also not need to be rendered further reducing overhead.
¶ Background App Mode
If you minimize the app and there are no active outputs (e.g. no live-streaming, recording etc.), PolypopLive will essentially background itself and CPU/GPU usage will drop to 0. If an external app activates the Polypop Camera (e.g. using PolypopLive as a Video Capture Device in OBS), then rendering will begin and CPU/GPU usage will increase as needed.
¶ Scene Design Tips
Like all real-time rendered graphics apps, the more you have going on in a scene, the heavier the load is on the GPU and CPU. The overall impact therefore is strongly controlled by you, the designer. In the next sections, we’ll look at a few scene design concepts that can help keep performance in check.
¶ Library
When possible, always reuse items that are in your Library. For instance, if you want to display the same ‘App/Screen Capture’ texture on multiple elements on your Scene (or across different Scenes), don’t add a second ‘App/Screen Capture’ item to the Library that captures the same window. Reuse the original texture by drag-and-dropping it from the library onto the desired scene item.
¶ 3D Screen Layers
For 3D effects, it’s always best to use exactly one 3D Screen Layer per scene. That means placing all objects within the same space. That ensures there’s only one scene pass that needs to occur to update shadows and other effects per frame. By placing all objects within the same 3D Screen Layer, you also enable physical based objects to interact with each other.
Another option to be aware of is the 3D Screen Layer’s ‘Pause When Hidden' property, which is enabled by default. This property will pause the 3D Screen Layer, including its Physics and other animations, whenever you switch to a different Scene. This saves on processing overhead as the other scenes won’t need to be updated if they aren’t visible.
¶ Shadows
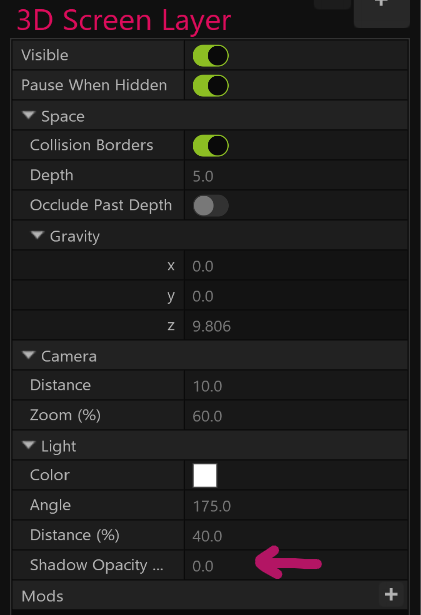
Shadows can also require a bit of additional overhead to update. If shadows are not needed, you can gain additional savings by disabling them. To do so, click on the 3D Screen Layer item in the Scene Layout, then set the Light/Shadow Opacity to 0%.
¶ Physics Objects
In general, moving objects are more expensive to handle than still, or sleeping, objects. The more stuff is moving, the more processor intensive it will be.
Additionally, some shapes have physical bodies that are more efficiently handled than others. In general, shapes that closely conform to a basic 3D shape, for instance boxes, planes, spheres, cylinders and capsules, will perform better when there are many collisions in the space compared to complex shapes. This is especially true for Fixed (non-movable) physics objects. Highly complex Fixed-physics objects (with many polygons) may cause possible frame-rate drops when a movable object collides with them.
For instance, the ‘Coin 3' 3D Object has a cylinder shape, and thus has an efficient collision shape as well. Many of these can collide on-screen with less performance impact.

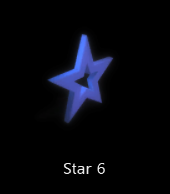
A star shape, on the other hand, has a complex shape and thus will collide less efficiently, especially if there are many on screen or have their Physics/Fixed property set to true.
¶ Rendering Copies
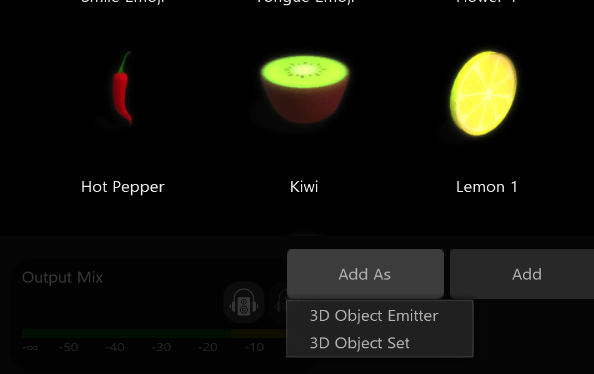
In general, it’s more efficient to render multiple copies of the same object then rendering many different types of objects. This concept is best illuminated through the use of 3D Object Emitters or 3D Object Sets. You can add these types of objects by using the Add As button in the Scene Object Browser.
¶ 3D Object Emitters
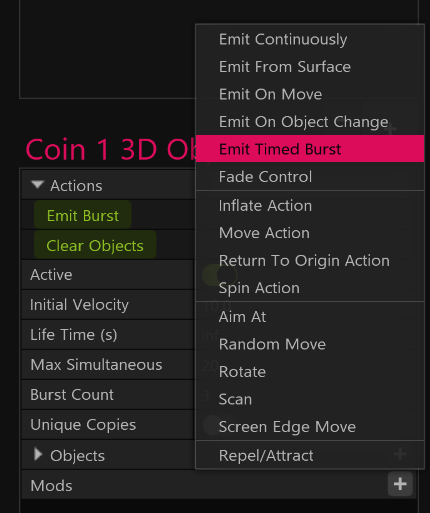
3D Object Emitters have a special property called ‘Max Simultaneous' that can be used to limit the total number of objects that are allowed on screen at once. As new objects are emitted, the oldest are removed to keep the total within the number you choose. Additionally, try to limit the number of objects that are emitted all at once (set using the ‘Burst Count’ property) and instead consider using the ‘Emit Timed Burst' mod instead. This mod will emit a burst of objects over a length of time.
¶ Effects Quality
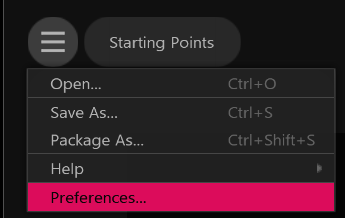
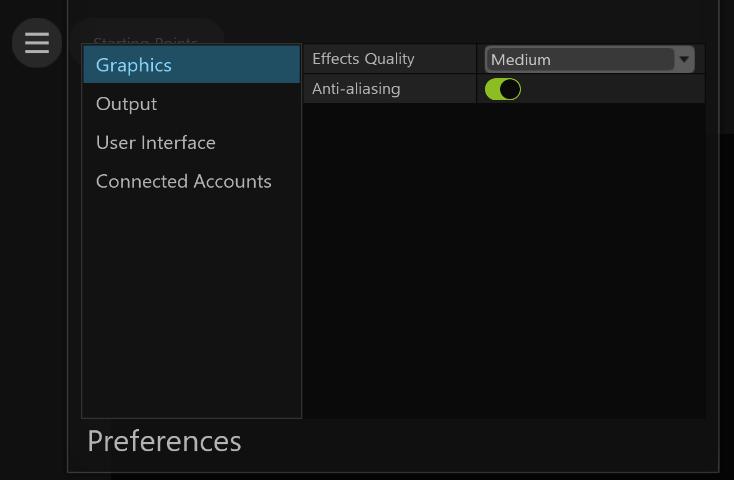
You can tweak the global Effects Quality property to reduce the quality and overhead that some effects, like shadows, use. You can find this option under the Graphics group of App/Preferences:
