Connecting to Your Twitch Account
Some features in PolypopLive require connecting accounts in order to make those features work. For example, if you want to receive alerts for your Twitch or YouTube account, you'll need to connect those accounts to PolypopLive. This will allow the platform to access the service and notify you of any relevant events on your account. Additionally, connecting your account will allow you to stream without having to manually enter a stream key.
Adding the Twitch Plug-in
To add a Twitch source to your Library, you will first need to install the Twitch plug-in.
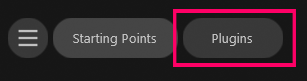
Click on the plug-in button, located at the top of the UI.
Select the Web Services category.

Find the Twitch plugin and click its "Install" button.
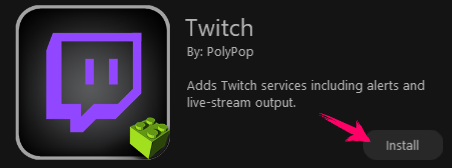
If you see that the Twitch plug-in is marked as "Installed," it means you already have it and you don't need to install it again.
Connecting to Twitch for Alerts
Now that we have the Twitch plug-in installed, let’s see how to connect our Twitch account to add Twitch Alerts to our project.
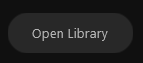
If the Library is not visible, click the “Open Library” button located on the lower-left side of the screen.
In the Library panel, click on the + button and choose “Twitch Alerts” from the popup menu that appears.
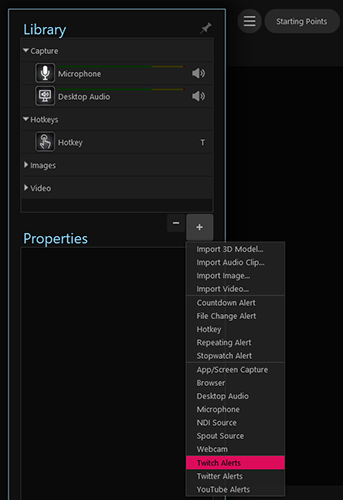
You should now have a Twitch Alert source in your library. Before proceeding, make sure Twitch Alerts is selected to ensure its properties are visible below.
Click on the “Sign in with Twitch” button.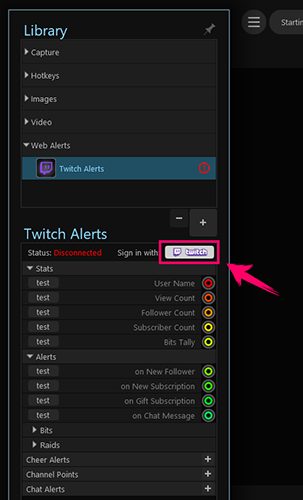
You should now be forwarded to the Twitch website where you will be asked to authorize PolypopLive to access your account.
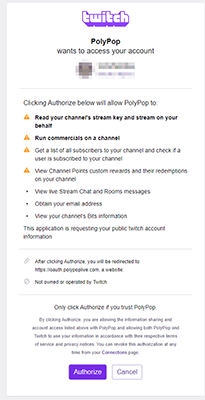
The authorization page shows you all the permissions PolypopLive requests in order to provide its Twitch features and alerts. PolypopLive will never access your account for any reason other than providing the features you can see and access through the application.
The “Run commercials on a channel” permission is requested solely to give you the ability to trigger ads using the “Ad” button (requires Twitch affiliate status). PolypopLive can not run ads in your channel.
You should now be connected to Twitch and alerts should fire when their associated events trigger. Now all that’s left to do is connect them to stuff in your scenes to make interesting things happen.
Connecting to Twitch for Live Streaming
Let’s see how to connect your Twitch account to be able to live-stream to Twitch.
Hover with your mouse over the “Go Live” area located at the bottom of your screen.

Click on the “Live Stream” button that appears.

A Live Stream properties window will appear.
Next, click the “Service” drop-down and choose “Twitch”.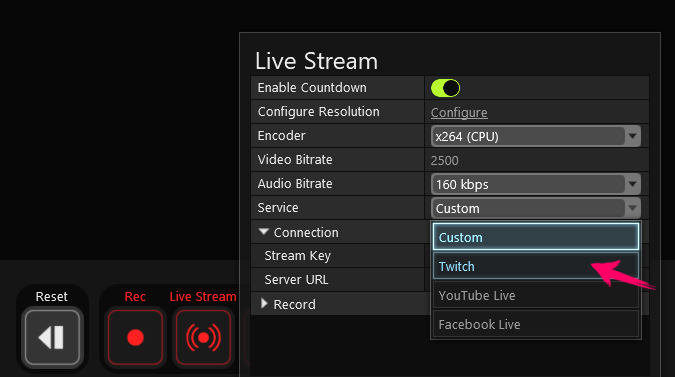
Once selected, you should see a Connected status entry under Connection. If you haven’t already done so previously (see above: Connecting to Twitch for Alerts), connect your Twitch account by clicking the “Sign in with Twitch” button and follow the authorization prompts.
Finally, click outside the Live Stream properties window to close it.
A Twitch button (with the Twitch logo) should appear in the Go Live area.
To start your Twitch live stream click on this button.
You should also have a new button labeled “Stream Mgr” to the left of the Go Live area.
Clicking this button will open your web browser to your Twitch Stream Manager page.