How to Import a 3D Object From Blender and Change its Texture in PolypopLive
This article is a sequel to the “How to Apply a Texture to a 3D object in Blender, and Import it into PolypopLive” article. Please make sure you read that article before proceeding.
In the previous article, we learned how to import a 3D object created in Blender into PolypopLive that came with a pre-set texture. In this article, we’ll learn how to set things up such that we can assign the texture within PolypopLive through a property of the 3D object.
When we create an .obj file with a texture in Blender, the .obj (or more specifically its .mtl file) contains information within it that tells PolypopLive what image to use as the object’s texture. By default, the texture is pre-set and cannot be changed within PolypopLive like you can with, for example, the Screen 3D object prefabs. In order to make the texture changeable, we will need to create a special .poly file that contains the extra information needed.
A .poly file is simply a text file that contains some definitions. One part of a .poly file connects materials used in the .obj file with PolypopLive’s material system.
Setting Things Up In Blender
Before we create the .poly file, open your .obj file in Blender and locate the material that applies to the 3D object the texture you want to be able to change within PolypopLive.
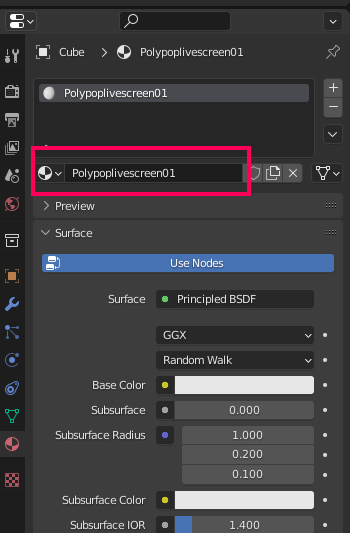
Once you locate the material, rename it to something memorable. For our example, we will name it “Polypoplivescreen01”. Now re-export your .obj file.
Creating the .poly File
The next thing we need to do is create a .poly file and save it in the same folder as the .obj file. Since a .poly file is just a text file, you can use your favorite text editor to edit it.
Click here to download the example .poly file
In your text editor, you should see the following:
{
  "type": "3D Model",
  "name": "My amazing 3D object",
  "path": "My_object.obj",

  "materials": {
    "Polypoplivescreen01": {
      "Diffuse": {
        "DiffuseMap": {
          "TextureSource": "Object_Texture1"
        }
      }
    }
  }
}Now let's break down what each element represents. You’ll need to change some of these elements to reflect your .obj file.
"type": "3D Model": This line tells PolypopLive this is a 3D model. This line should not be changed.
"name": "My amazing 3D object": This line tells PolypopLive the name of your 3D object as it will appear in the Library. You can change the name inside the quotation marks to whatever you want.
"path": "My_object.obj": This line tells PolypopLive the filename the .obj file you created in Blender. You will need to change the name inside the quotation marks to the exact filename of your .obj file.
"materials": This line defines all the materials present within your .obj file that you’d like to define through PolypopLive’s material system.
"Polypoplivescreen01": This line tells PolypopLive that we’d like to define this particular material (that we named and exported from Blender). Be sure to set this to exactly the same name you set for the material in Blender. PolypopLive will now know that wherever this material is applied to your object, it should be defined by the material properties we will set in the following lines.
"Diffuse": This line represents the group of elements that define the diffuse properties of the material.
"DiffuseMap": This line represents the group of elements that define the diffuse texture of our material.
"TextureSource": "Object_Texture1": Fundamentally, this line tells PolypopLive that we’d like the diffuse texture to be settable within the app, through a property on the Properties panel of the Scene Layout or by drag and dropping an image onto the object.
Note the use of curly brackets ‘{' and ‘}’. These are used to define groups of related properties. Each opened ‘{’ must be accompanied by a '}’ to close the group of elements. Long story short: for our example, ensure that they appear in the file exactly as shown above.
Be sure to save the .poly file into the folder that contains your .obj file.
Importing the .poly file into PolypopLive
If the Library is not visible, click the “Open Library” button located on the lower-left side of the screen.
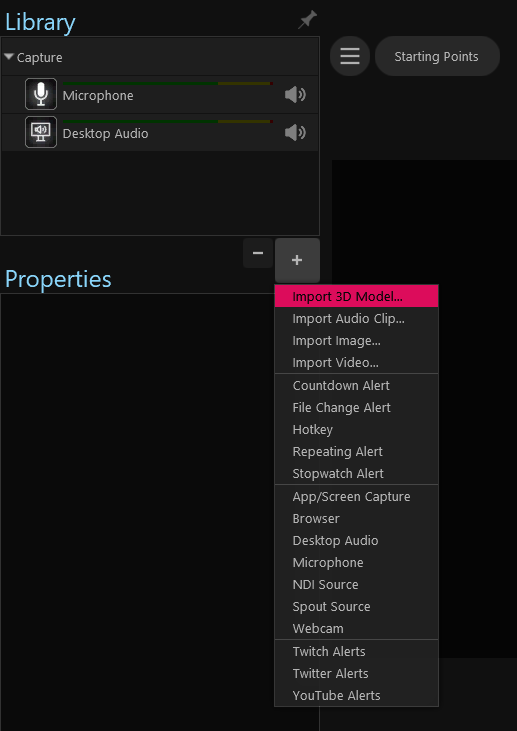
In the Library panel, click the + button and choose “Import 3D model…” from the popup menu that appears. When the File Explorer opens, select the .poly file you created.
Your 3D object should now appear in the Library under “3D Models”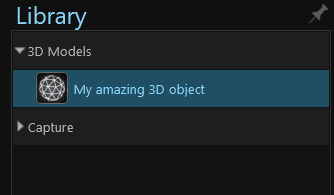
You can now drag and drop it from the Library onto the Scene to see it or use it wherever 3D models are needed, such as 3D object emitters/sets.
Assign a Texture to your 3D Object
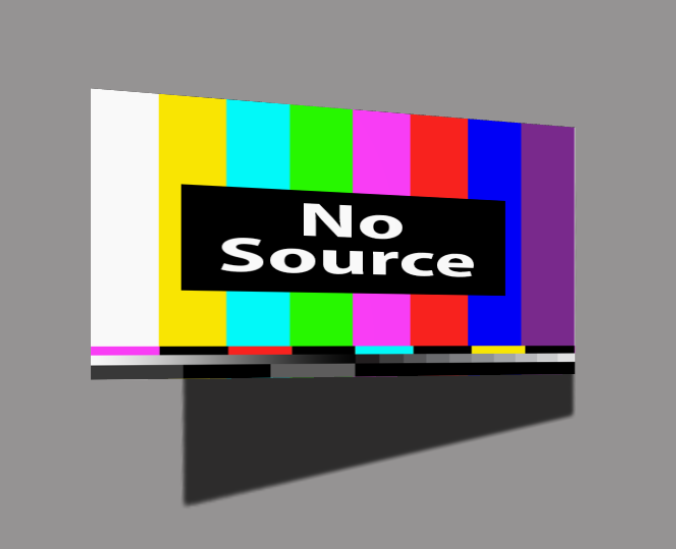
When you place your 3D model inside your scene, you should see its texture being represented with a “No Source” image. This indicates that PolypopLive correctly identified it as a user-replaceable texture that we can now assign our own.
To assign a texture to the 3D object:
If the Library is not visible, click the “Open Library” button located on the lower-left side of the screen.
Choose an object from your Library that represents an image (such as a Webcam, Video, Image or Browser Source).
Finally, drag and drop the chosen source form the Library panel onto your 3D object on the scene.