Nested Scenes
In PolypopLive you can nest scenes within other scenes. This can simplify workflows in some cases or enable you to create certain effects. You can also apply a whole scene as a texture to 3D objects.
How to Nest a Scene
For this example, Scene 1 will be our main scene, and Scene 2 will be the nested scene.
Select the main scene (Scene 1) in the Scene Picker.
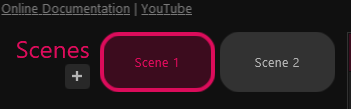
The main scene is now shown on your canvas.While holding down the ALT key, drag-and-drop the “Scene 2” button onto the main scene canvas.
You should now see Scene 2 rendering as a nested scene in your main scene.
You can also nest a scene inside itself
Use a Scene as a Texture on a 3D Object
Make sure you have in your scene a 3D object that has an assignable texture.
If not - pick one of the 3D objects from the built-in 3D library that has the “Object Texture” image on it.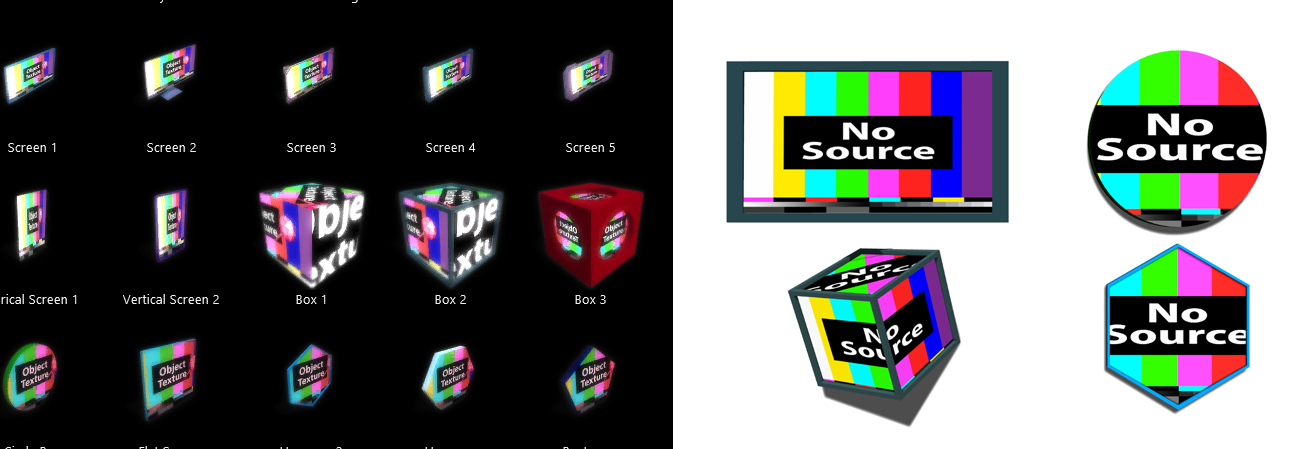
While holding down the ALT key, drag-and-drop the “Scene 2” button onto the 3D object.
Your 3D object should now display the nested scene as its texture.