¶ Alpha Mask
Alpha masking is a technique that allows you to selectively show or hide parts of a layer (image, video, 3D).
When an alpha mask is applied to a layer, it selectively reveals or hides parts of the underlying layer based on the opacity values in the mask. This allows for creative effects like creating cutouts and creating complex shapes and transparency effects.
If you want to apply an Alpha Mask to your layers in PolypopLive, it's important to note that this can only be done within a grouped layer. To learn more about how to group layers together in PolypopLive, please refer to the Grouping Layers document for more information.
¶ Adding an Alpha Mask
In PolypopLive you can easily add an Alpha Mask to any visual layer, whether it's a 2D image, video, webcam feed, or a 3D layer.
To do that you will need to have at least two layers in your scene:
a. The layer you want to mask - to demonstrate the process, we'll use an image layer as an example, but the same technique can be applied to any other visual layer.
b. The layer that will be served as a mask - in this example, we'll use a 2D circle element as the mask, but you can use any visual layer you like, whether it's 2D or 3D.
-
Add an image to the scene. This will be the layer we will mask.
To learn how to add an image please refer to the Importing an Image article.
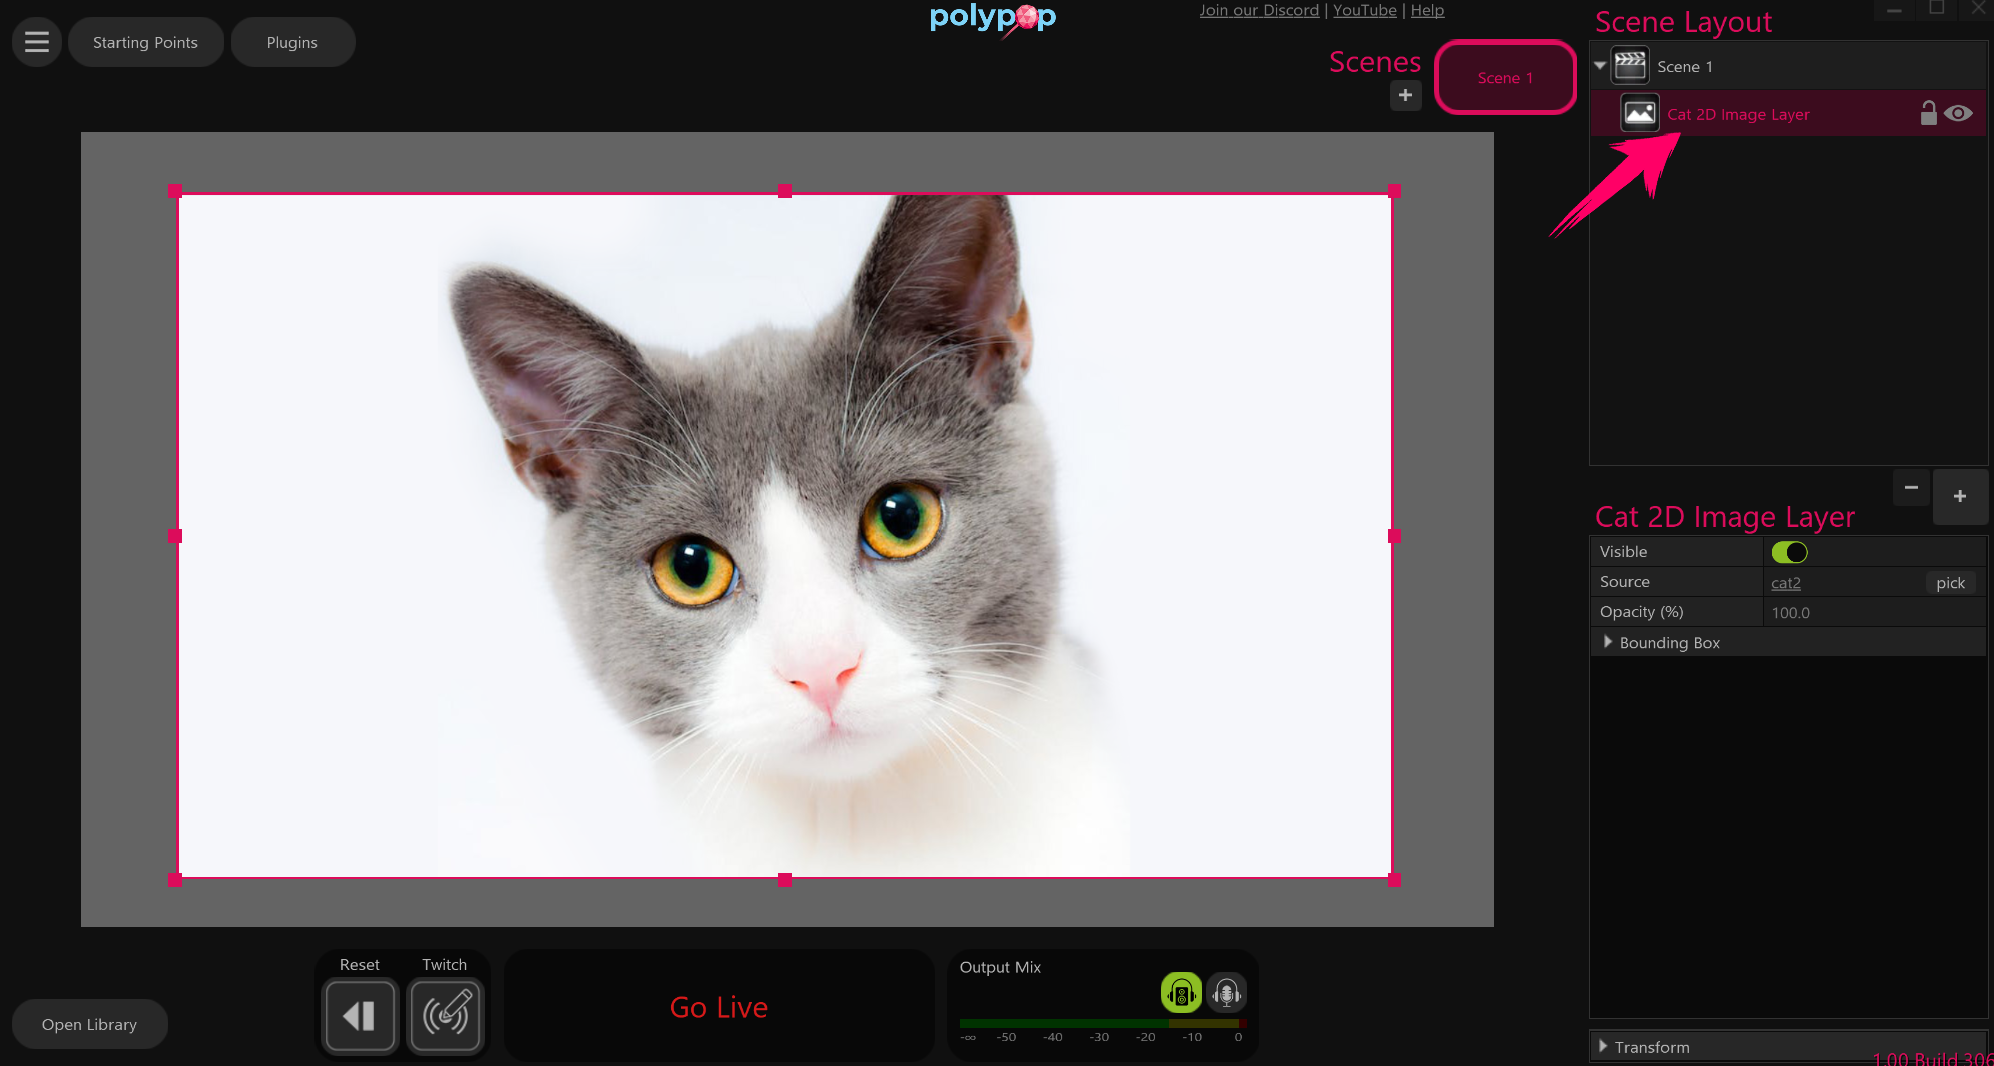
In this example, we added a 2D cat image -
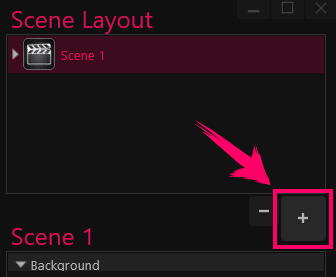
Now let’s add a 2D circle. We will use this circle as a mask for the cat image.
Click on the big + button in the Scene Layout panel.
-
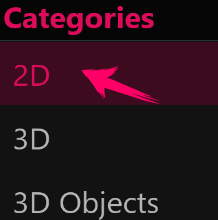
Select the 2D option from the menu.
-
Double-click the 2D Circle icon
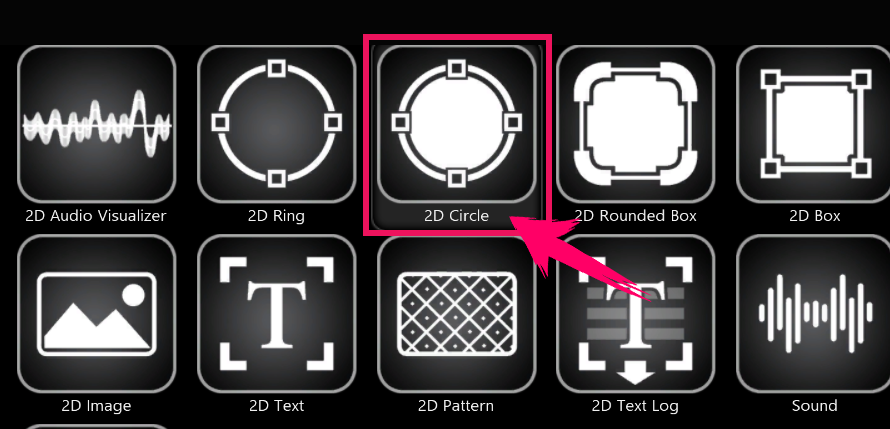
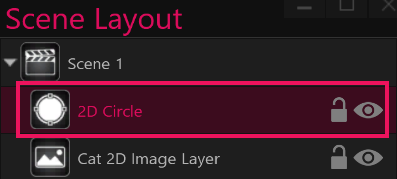
A 2D Circle was added to your scene and will appear as a layer in your Scene Layout panel.
-
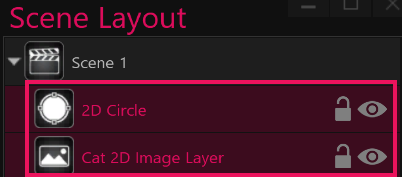
Now let’s group the image layers and the circle layer together.
While holding down the Shift key on your keyboard, select the image layer and the circle layer in the Scene Layout panel.
-
Press CTRL+G to group them together.

-
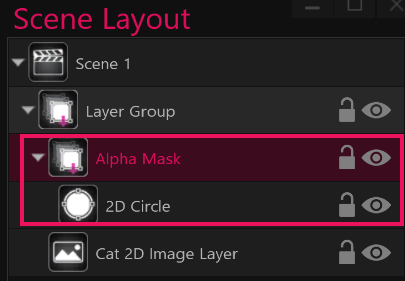
We now have a new Layer Group in the Scene Layout panel.
Clicking on the triangle next to it will show us the layers we grouped.

-
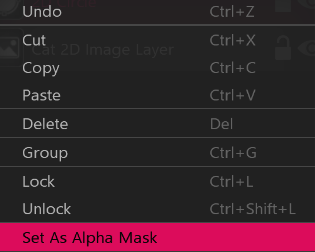
Now let's transform the 2D Circle layer into a mask layer:
Right-click on the 2D Circle layer and select the “Set As Alpha Mask” option from the menu that appears.
-
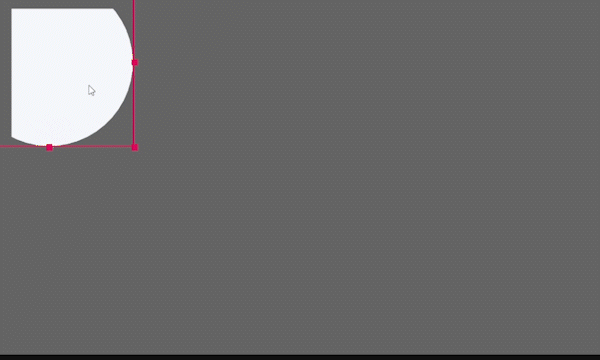
The 2D Circle layer is now placed inside an Alpha Mask layer, and is being used as a mask for the image layer beneath it.
-
You can move the 2D Circle layer in the canvas to see its mask effect, and place it in your desired location.
¶ Gradient Alpha Mask
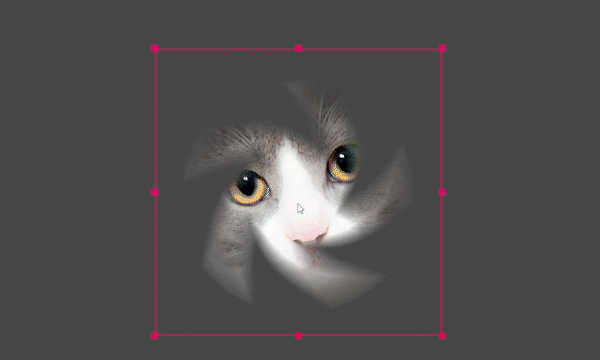
If you want to create unique and interesting effects in your project, you can use images or videos that have a built-in alpha gradient, which means they have gradient transparency.
You can achieve this effect by following the guide provided earlier, but instead of using a 2D circle, you can use an image or video that has a transparent gradient in it
For example, if you download this image that has a gradient transparency, and use it as your alpha mask,

Your Alpha Mask will have the same gradient alpha values as the image.