¶ Change the Texture of a 3D object
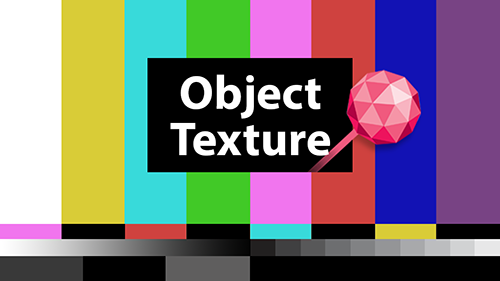
PolypopLive allows you to customize the texture of certain 3D shapes and screens, giving you more flexibility and creativity in your projects. This feature can be very useful if you want to add depth and dimension to your visuals, such as by taking a 2D source like an image or video and integrating it into the 3D space. For example, you could use this feature to make the 2D source collide with other 3D objects or make it spin in a realistic way. Overall, this feature can greatly enhance the visual appeal and impact of your projects.
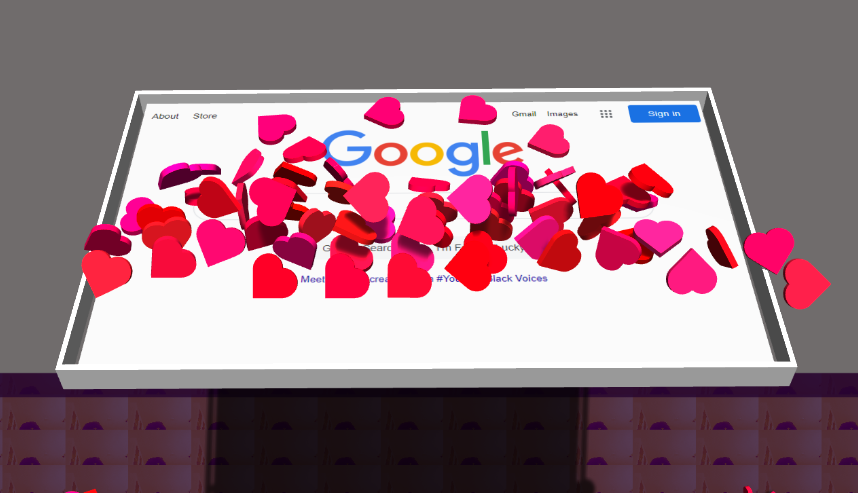
In this example, by applying the 2D Browser Source to a 3D object, it collides with the 3D hearts around it that a viewer emitted.
¶ Adding Textured Shapes and Texture Screens to your 3D objects Library
-
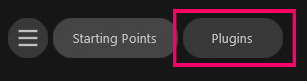
Click on the Plugins button located at the top of the UI
-
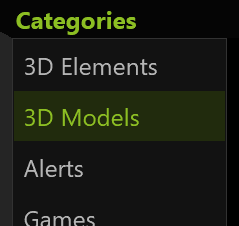
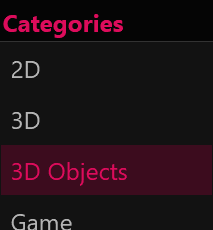
Select 3D Models category from the menu
-
Browse through the plugins and locate the Textured Screens and Textured Shapes plugins.

-
Click on the install button on both plugins.
If the plugins are already installed it means you already have these 3D objects in your 3D library. You do not need to install them again.
¶ Adding a Textured 3D object to your project
Now that you've installed the textured screens and shapes, let's take a look at where they can be found and how to add them to your project.
-
Click on the big + button in the Scene Layout panel.

-
Select the 3D objects option from the menu
-
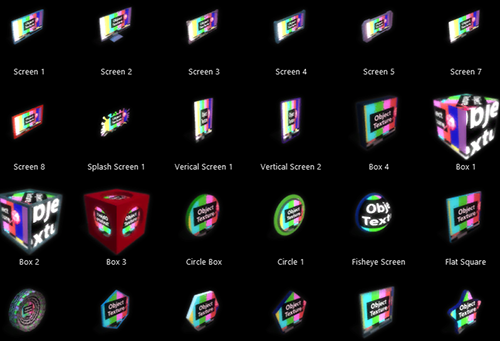
Browse through the objects until you find the textured object you want. You can recognize these objects by their colorful texture.
-
Double-click on the object you want to add to your project.
-
PolypopLive will now ask you to choose a texture for the object you chose.
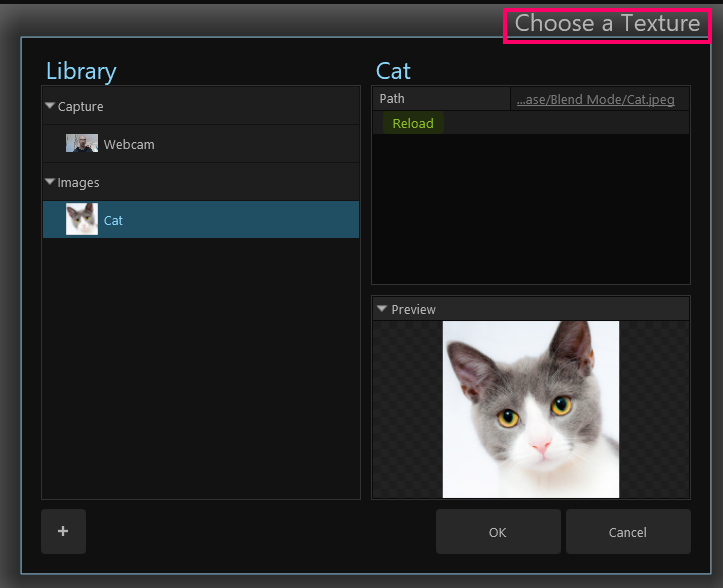
PolypopLive will show you the available sources in your library that can be used as a texture for the 3D object. -
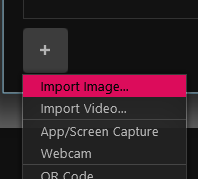
If you want to assign a texture that is not yet imported to the library, you can click on the + button in the lower left corner, import it and use it as a texture for the object.
-
After selecting the texture you’re interested in - click OK.
-
The texture you chose, is now assigned to the textured screen/shape you chose.
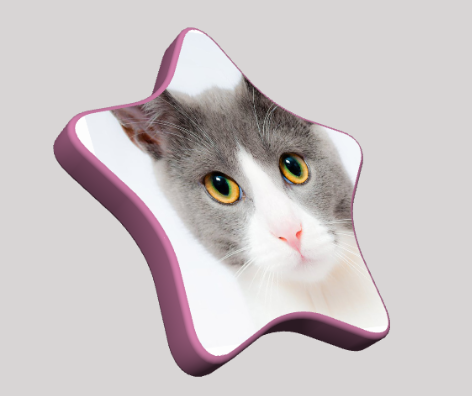
You can use Images, videos, browser sources, webcams, and app/screen capture as a texture.
¶ Replacing a texture
There are two methods you can use to replace the texture of a 3D textured screen or shape in your project:
¶ Drag and drop
-
Open the Library panel by clicking the open library button on the lower left of the screen.
-
Select the new texture and simply drag it from the library panel and drop it on the 3D textured screen of shape.
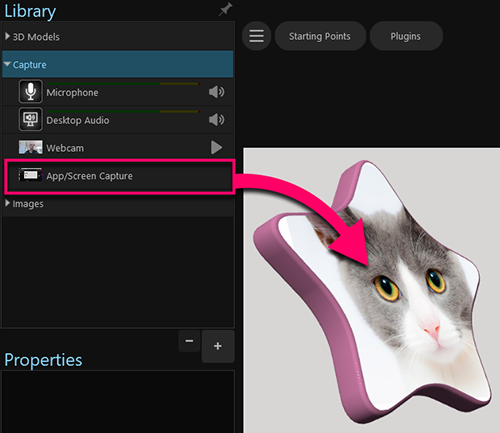
In this example dragging and dropping the App/Screen Capture source from the Library panel into the 3D object will replace the cat image with the screen capture.
¶ Change the source in the 3D object properties
You can also replace the texture in the 3D object properties:
-
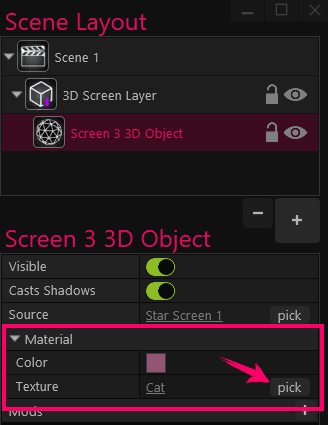
Select the 3D textured screen/shape in your Scene Layout panel.
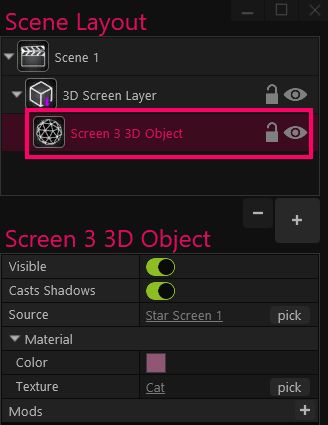
-
In the layer’s properties, under the Material menu, we can see what is the current texture.
Clicking on the texture’s link, lets you see where the current texture is in the Library panel.
To choose a new texture or import a new texture, click on the Pick button. This will open a menu with options for selecting a texture from the available textures in the Library panel or importing a new texture.