¶ Crop and Filter Mode
With PolypopLive, you have the ability to effortlessly enhance the visual elements in your project, such as images, videos, webcam feeds, and game/desktop captures, by applying filters and cropping them in the Library panel. This creates a unique "Child source" based on the original source, which can be reused and repurposed in any scene of your project and even applied as a texture to 3D models.
You have the freedom to create as many child sources as you desire, giving you even more flexibility and options for customizing your project.
The beauty of this feature is that any adjustments made to a child source will be reflected throughout your project, ensuring a cohesive and polished look.
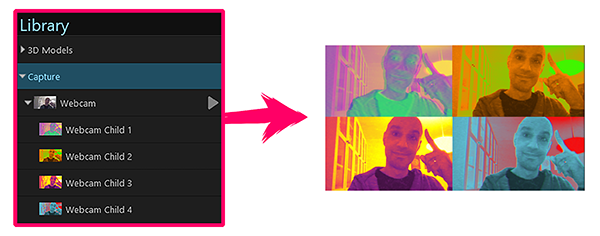
An example for a webcam source with 4 child sources (each with different image filters) that can be used simultaneously in your live stream
When working in PolypopLive, it's important to note that applying an image filter to a scene will affect all layers within that scene. However, by applying an image filter to a specific source in the Crop and Filter mode, you can selectively edit that source without altering the other layers in the scene.
¶ How to Crop and add filters to a visual source in the Library panel
¶ Import an image to the project
Let's begin by adding a visual source to our Library panel.
From there, we can seamlessly transition into the edit mode to be able to crop it and apply image filters to it.
For the purpose of this example, we will demonstrate how to add, crop, and apply filters to an image source, but the process is quite similar to adding a webcam feed, a video, or a game/desktop capture.
-
Open the Library by clicking the “Open Library” button on the lower left side of the screen.
-
Click the + button on the bottom right of the Library panel.
-
Next, from the menu that appears, click the Image item.
-
When the File Explorer opens, select the image you want to import and double-click it.
-
The image will appear in the Library panel under the Images category.
For a more in-depth understanding of how to import an image, we recommend reading the Importing an Image article.
¶ Accessing the Crop and Filter mode
-
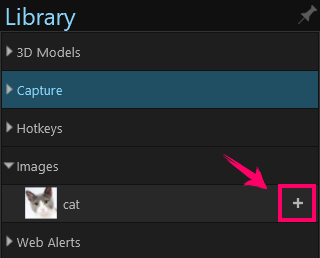
When you place your cursor over the image layer in the Library panel, a "+" button will appear.
-
Clicking on the “+” button will show a menu saying “Crop and Filter”.
Select the Crop and Filter option.

-
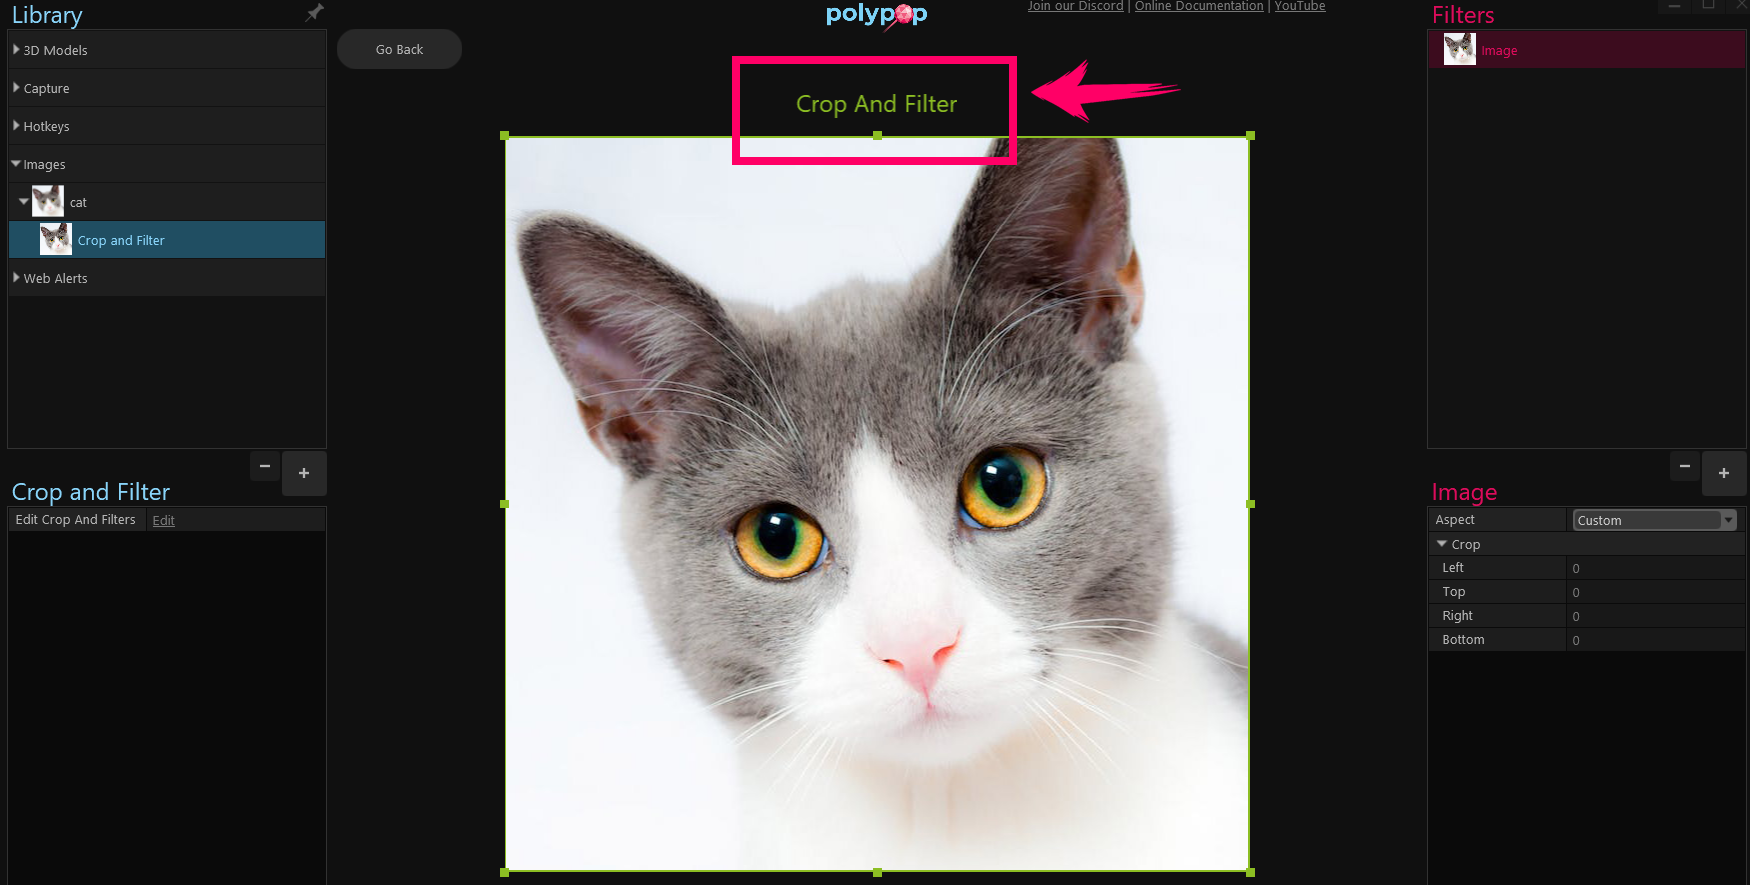
You will now enter the Crop and Filter mode, which will allow you to focus on making adjustments to your image source. The user interface will change to provide you with the necessary tools to make these changes.
-
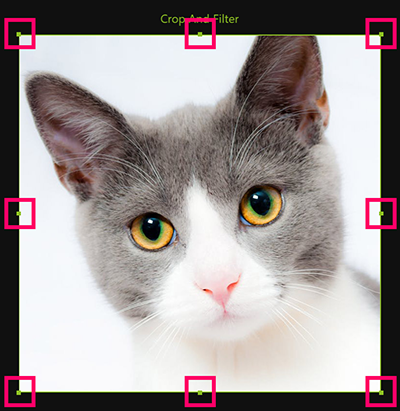
Easily crop your image by clicking and dragging one of the 8 green squares surrounding it.
-
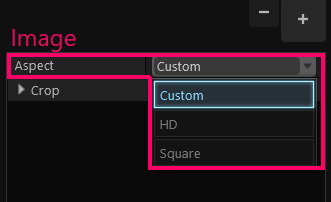
You can fine-tune your crop at an HD or Square aspect ratio, using the Image Aspect menu on the right side of the screen.
To see the Aspect property make sure the image layer is selected under the Filters panel on the top right side of the app.
-
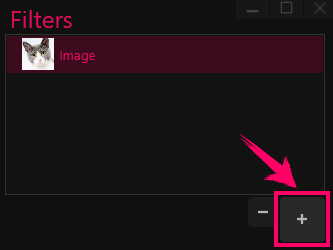
You can also add Image Filters to the image by Simply clicking on the “+” button under the image window and selecting from a variety of filters to enhance your image.
-
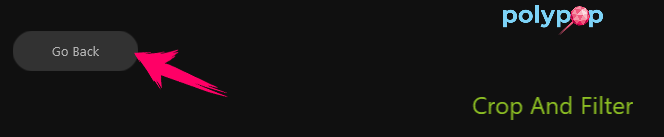
When you’re done click the go-back button
-
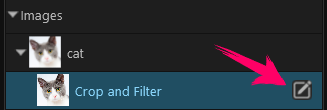
In the Library panel, you can see that You now have a new child source under the original source.
This is the cropped and filtered version of the source. -
If you want to make changes to a child source - hover over the child source layer, and click on the edit icon that will appear. This will take you back to the Crop and Filter mode.
The cropped and filtered child source behaves like any other visual source. You can drag and drop into any scene in your project, and apply it as a texture to 3D objects.
To learn how to apply a source as a texture to a 3D object please refer to the Change the Texture of a 3D object article.
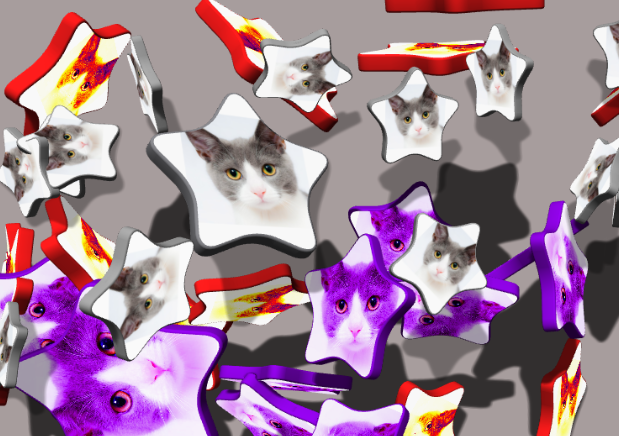
An example of applying different child sources as textures to the “Star Screen 1” 3D object.