¶ Adding a 3D object
PolypopLive's powerful 3D game engine takes your livestream to new heights by allowing you to create interactive and dynamic experiences for your audience. With the ability to use 3D objects that can interact with each other and be controlled in real-time, your viewers can actively participate in your stream and keep it feeling fresh and exciting.
PolypopLive allows you to bring your 2D sources, such as images, videos, webcam feeds, or browser sources, to life in a 3D environment. Not only can you move these sources within the 3D space, but you can also make them interactive and responsive to your viewers. For example, a viewer could trigger an alert that causes your browser source to spin or change color. For instructions on how to bring your 2D sources into a 3D environment using PolypopLive, please refer to the Change the Texture of a 3D object article.
¶ Install the 3D Models plugins you need
PolypopLive has a big 3D model library you can use. In order to keep Polypoplive lean, these objects are not automatically installed. You can browse through the 3D models Plugin category, and choose the ones you want to download. Each plugin bundles together 3D objects of the same category.
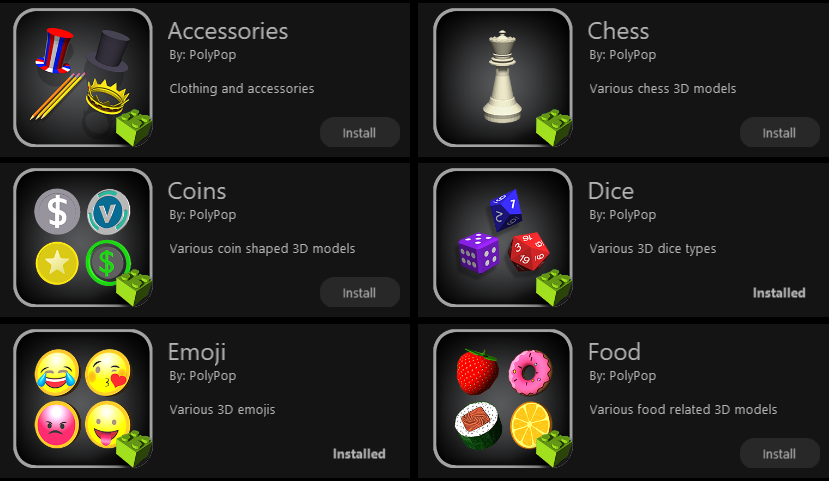
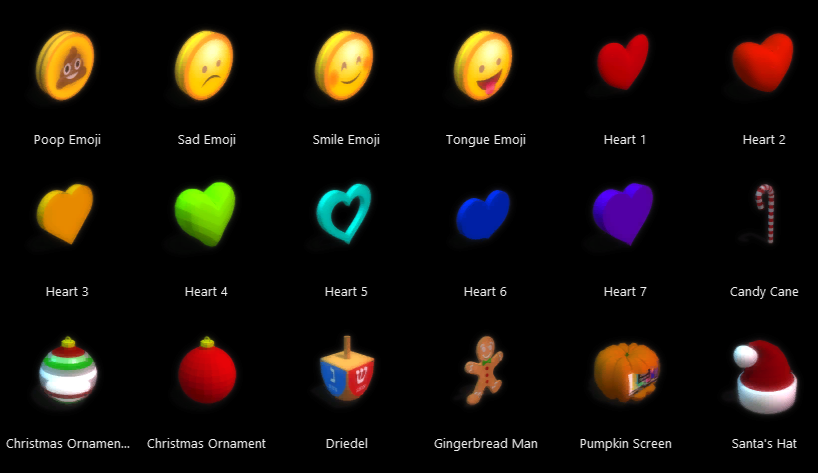
A small sample of the many 3D model plugins you can download
-
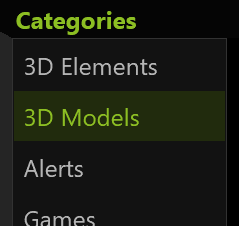
Click on the Plugins button located at the top of the UI.

-
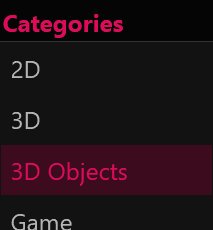
Select the 3D Models category from the menu.
-
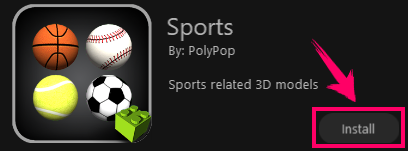
Browse through the options and click the "Install" button next to the ones you want to use.
-
Once installed the 3D Model plugin will place its 3D object in your 3D objects Library.
If a plugin is already installed it means you already have it. You do not need to install it again.
If you open a project that has 3D objects that you previously installed but later uninstalled, PolypopLive will automatically reinstall the plugin of these 3D objects, to ensure that the project loads correctly.
¶ Add a 3D object to your project
Now that we have installed a 3D model plugin, let's take a look at where the plugin stores its 3D models and how we can add them to our project.
-
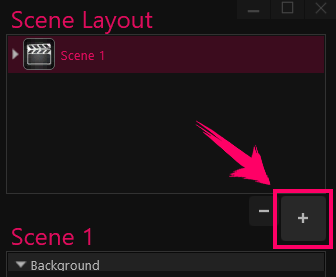
Click on the big + button in the Scene Layout panel.
-
Select the 3D objects option from the menu.
-
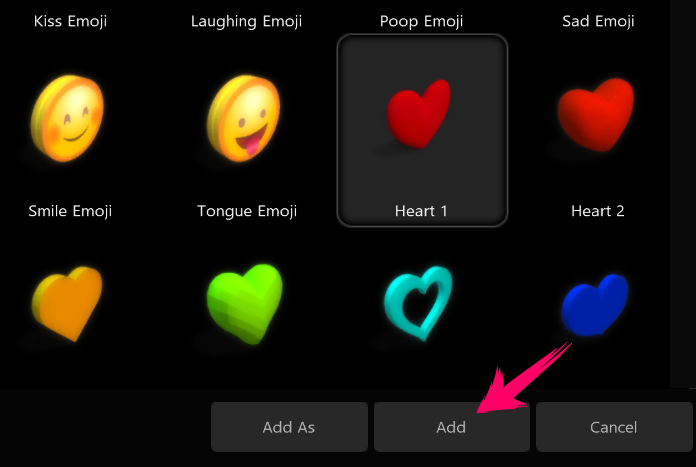
You can now browse through the 3D objects in your 3D Objects library
-
To add a 3D object to your scene, you have a couple of options. You can either select the object and click the 'Add' button, or simply double-click the object to add it to your scene.
-
You now added a 3D object to your scene. Accordingly, a new layer was added to your Scene Layout panel.
Selecting the 3D object’s layer in the Scene Layout panel will show you the object’s properties.
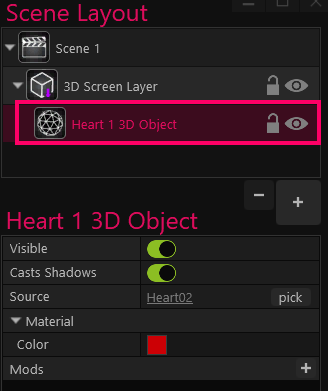
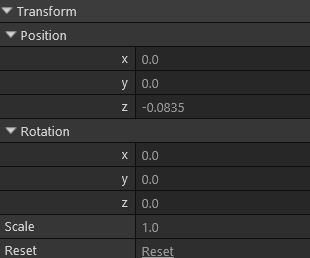
A 3D Heart propertiesYou can change the object’s properties and also connect them to alerts to create interesting animations.
To learn how to do that please refer to the Action Sequence article. -
You can move the 3D object on your canvas with your mouse, or by changing the axis values in the Transform menu, which is located at the very bottom of the Scene Layout panel, underneath the properties.

-
Clicking on the triangle next to the Transform menu will expand it.
Here you can Move, Rotate and Scale the 3D object.
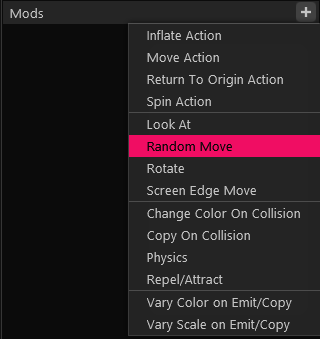
¶ Mods
One effective way to add some flair to your animations and alerts is by using mods on your 3D objects. You can find the mod options in the 3D object preferences. To learn more about how to use mods, you can check out the Mods article for more information.
¶ Add the 3D object as an Object Emitter
Instead of adding a single 3D object to your scene, you can also choose to add it as an object emitter. Object emitters allow you to generate multiple copies of a 3D object, either all at once or continuously over time. This can be a great way to quickly and efficiently create large numbers of objects, create special effects, or populate a scene with multiple copies of the same object without having to place each one individually.
If you'd like to learn more about using object emitters, you can refer to the Object Emitters document for more information.
¶ Import your own 3D object
You can also import your own 3D object to your project.
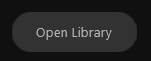
-
Open the Library by clicking the “Open Library” button on the lower left side of the screen.
-
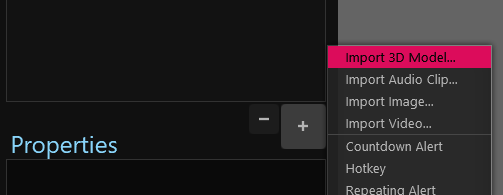
Click the + button on the bottom right of the Library panel.
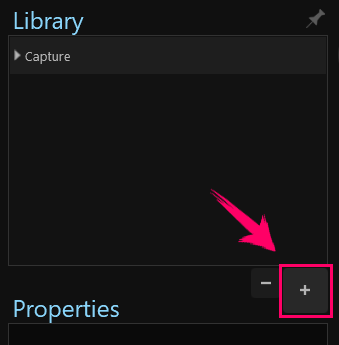
-
Next, from the menu that appears, click the Image item.
-
You can find the 3D model you imported in the Library under the 3D Models category.
Before you import your 3D object to PolypopLive - make sure your texture image files and the .mtl file are stored next to the .obj file - so Polypop can find them.