¶ Importing a Video
In this article, we’ll learn how to import a video into your project. Once imported it can be placed in a scene as a simple 2D video or used as a texture for a 3D object.
Add a video to the Library
- First, open the Library by clicking the + button on the bottom left side of the screen.
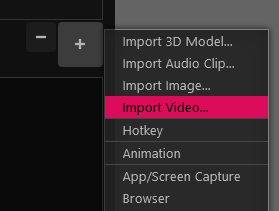
- Click the + button on the bottom right of the Library panel.

- Next, from the menu that appears, click the Import Video item.
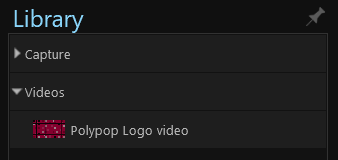
- When the File Explorer opens, select the Video you want to import and double-click it.
- The imported video will appear in the Library panel under the Videos category.
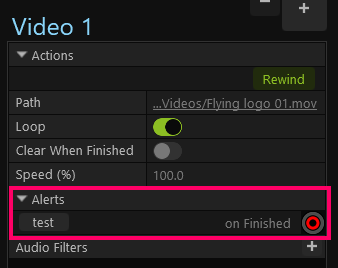
¶ Video Properties
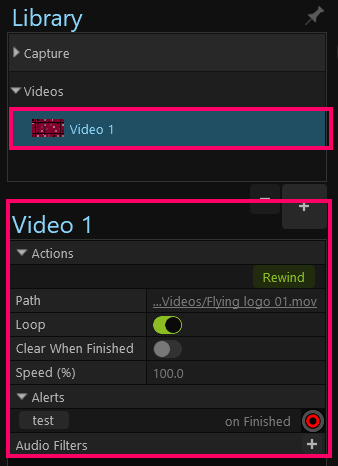
Selecting a video layer in the Library panel will show us its properties.
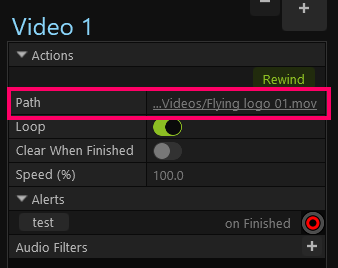
¶ Path
The path property shows where the video is located on your computer. If later on, you decide you want to replace the video, you can click on the underlined path to select a different video. Doing so will replace the video anywhere it was used in the project.
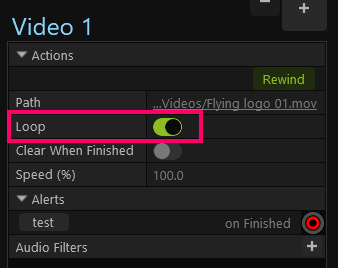
¶ Loop
The Loop toggle button enables/disables the looping of the video.
¶ Clear When Finished
When enabled, the Clear When Finished toggle button clears the video when it finishes playing. If turned off, the last frame will persist.
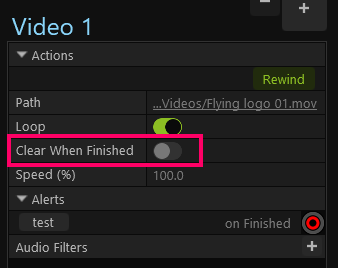
The Clear When Finished ON option, only works if looping is disabled.
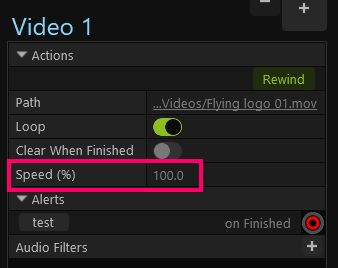
¶ Speed(%)
Controls the playback speed of the video.
¶ Alerts
If you want something to happen at the end of the video, you can pull a wire from the “on Finished” socket under the Alerts menu and connect it to another socket (for example - an Action Sequence), to trigger an event.
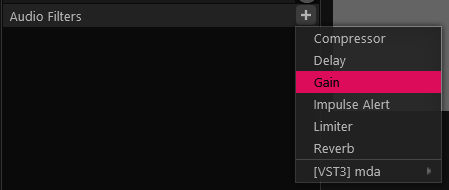
¶ Audio Filters
PolypopLive supports VST3 audio filters, allowing you to fine-tune the sound of your stream. You can add audio filters to library audio sources, by clicking on the + button next to them and selecting a filter.
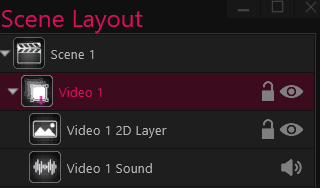
¶ Adding Your Video to a Scene
To add a video to a scene, drag the video from the Library panel onto the canvas.
When you add a video to a scene in your project, any audio that is included with the video will be grouped together with the video in the Scene Layout panel. This means that you will see both the video layer and the audio layer for the video in the panel, and you can select either one to view or edit its properties.
Let’s see what each property does:
¶ The video layer properties
The properties of the video in the Scene Layout panel refer to the selected video in the current scene. Any changes made to these properties will only affect the appearance or behavior of that specific video in the current scene.
On the other hand, the properties of the source video in the Library panel (on the left) apply to all instances of that video in all scenes and locations. Any changes made to the source video's properties will affect all instances of the video, regardless of where or how they are used in your project.
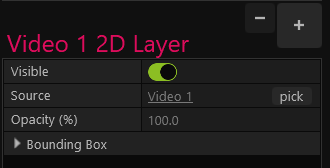
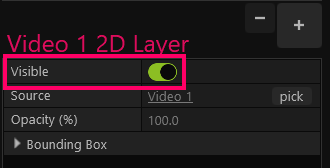
¶ Visible
The Visible on/off switch lets you choose whether you want your video to be visible or not. You could link this property to a Hotkey, for instance.
¶ Source
The Source lets you see where the video is in the Source Library panel.
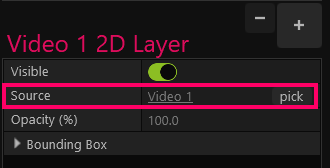
Clicking on the source will select the video in the Library panel on the left side of the app.
Clicking on the Pick button will open a window that will let you replace the video with a different source.
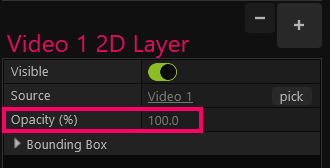
¶ Opacity (%)
The Opacity slider allows you to change your Video’s opacity. At 100%, the image is fully opaque. At 0%, the image is invisible.
¶ Bounding Box
The bounding box options let you control how the source video fills its enclosing box on the canvas. You can use these options to automatically constrain or align the image to a particular part of the canvas.
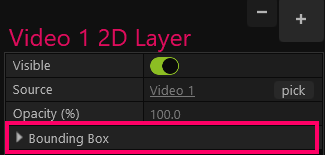
Expanding the Bounding Box menu will show the Fill Mode menu.

Let’s look at what each Fill Mode does:
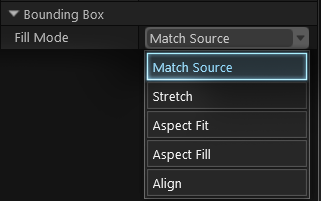
Match Source
Set as the default, this option will automatically resize the bounding box to match the source image dimensions. So if your source image dimensions change (if, for instance, you change the source webcam’s resolution), the bounding-box will resize accordingly.
Stretch
This Fill Mode will stretch the source image to fit the box exactly as drawn causing distortion if the bounding box’s aspect ratio differs from the source image’s aspect ratio.
Aspect Fit
This mode will resize the source image to fit inside the box while maintaining its aspect ratio (introducing spaces as necessary along the edges to accommodate). This option is particularly useful when working with full-screen images to ensure the source will always fill the screen correctly regardless of any changes to the source's dimensions.
Aspect Fill
This mode will resize the source image to fill the entire bounding box while preserving the source image’s aspect ratio. This may cause the image to spill outside the bounding box in order to fill the bounding box space correctly.
Align
This Fill Mode will align the source image to a location within the bounding box specified by the Alignment property. The size of the source image can be adjusted using the Source Dimensions property.
¶ The Audio layer properties
When you add a video to the scene, if it contains sound, polypop will group the video and the audio together. Selecting the audio layer of the video will show us its properties.
The properties of the video’s audio in the Scene Layout panel refer to the selected audio in the current scene. Any changes made to these properties will only affect the appearance or behavior of that specific audio in the current scene.
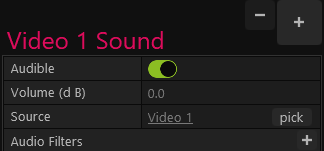
¶ Audible
The Audible on/off switch lets you choose whether you want your sound to be audible or not. You could link this property to a Hotkey, for instance.
¶ Source
The Source lets you set what audio file to use from the Source Library. This is set automatically to the Audio Clip when it's dragged into the canvas.
Clicking on the source will select the audio clip in the Source Library on the left side of the app.
¶ Audio Filters
PolypopLive supports VST3 audio filters, allowing you to fine-tune the sound of your stream. You can add audio filters to audio, by clicking on the + button next to them and selecting a filter.
¶ Adding your video as a texture to a 3D object
PolypopLive allows you to customize the texture of certain 3D shapes and screens, giving you more flexibility and creativity in your projects. This feature can be very useful if you want to add depth and dimension to your visuals, such as by taking a 2D source like an image or video and integrating it into the 3D space. For example, you could use this feature to make the 2D source collide with other 3D objects or make it spin in a realistic way. Overall, this feature can greatly enhance the visual appeal and impact of your projects.
To learn how to do that please view the Change the Texture of a 3D object article.