¶ Importing an Image
In this article, we’ll learn how to import an image into your project. Once imported it can be placed in a scene as a simple 2D image or used as a texture for a 3D object.
¶ Add an image to the Library
- Open the Library by clicking the “Open Library” button on the lower left side of the screen.
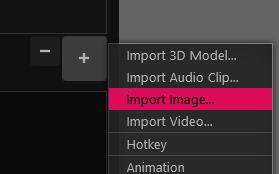
- Click the + button on the bottom right of the Library panel.

- Next, from the menu that appears, click the Image item.
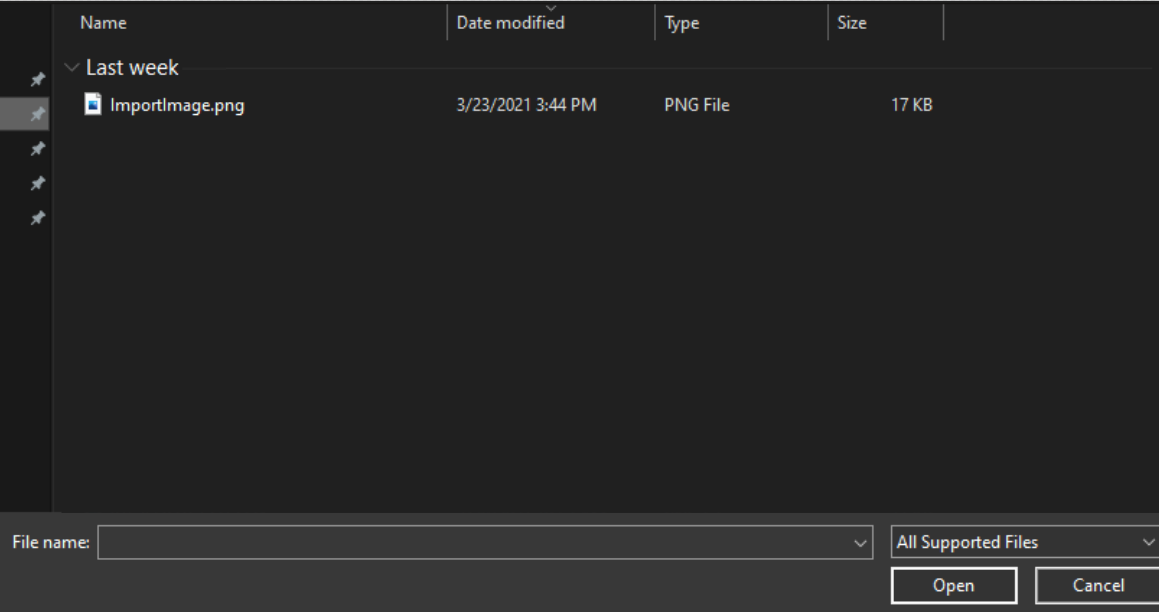
- When the File Explorer opens, select the image you want to import and double-click it.
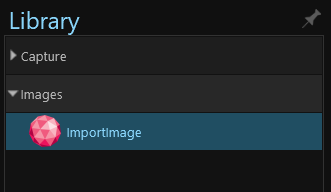
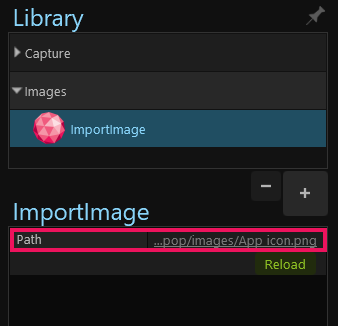
The image will appear in the Library panel under the Images category.
If you click on the selected image and look under its properties below, you’ll see a property named Path that refers to your selected file. If later on, you decide you want to replace the image, you can click on the underlined path to select a different image. Doing so will replace the image anywhere it was used in the project.
¶ Adding Your Image to a Scene
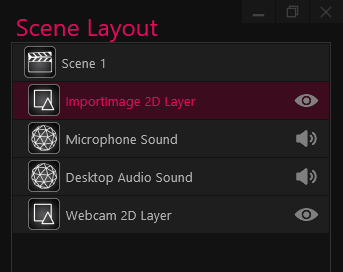
To add an image to a scene, drag the image from the Source Library panel onto the canvas.
This will automatically create a new image layer in your scene as shown in the Scene Layout panel.
If you select the layer, its properties will be shown directly below. Within its properties, you can change the image settings.
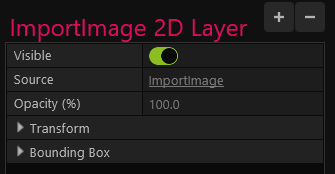
Let’s see what each property does:
¶ Visible
The Visible on/off switch lets you choose whether you want your image to be visible or not. You could link this property to a Hotkey, for instance.

¶ Source
The Source lets you see where the image is in the Source Library panel.

Clicking on the source will select the image in the Source Library on the left side of the app.
¶ Opacity (%)
The Opacity slider allows you to change your image’s opacity. At 100%, the image is fully opaque. At 0%, the image is invisible.

¶ Transform
The Transform option allows you to change your image’s Position, Dimensions, Rotation, and Pivot Point.
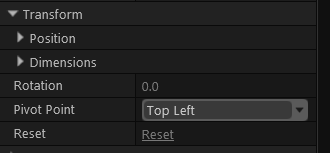
Position allows you to change the X and Y position of the image on the canvas.
Dimensions allows you to change the image’s dimensions.
By default the aspect ratio between the width and the height of the image will be locked. Changing one value will change the other accordingly.
You can unlock the aspect ratio by clicking on the button highlighted below. This will allow you to change each value separately, potentially introducing stretching/skewing.

Rotation lets you change the image’s rotation.
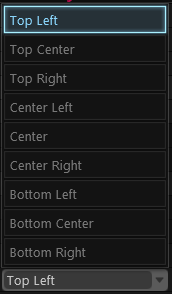
Pivot Point allows you to change the point at which the image rotates. For example, choosing
Center will make the image rotate about a point located at the center of the image.
¶ Bounding Box
The bounding box options let you control how the source image fills its enclosing box on the canvas. You can use these options to automatically constrain or align the image to a particular part of the canvas.

Let’s look at what each Fill Mode does:
Match Source
Set as the default, this option will automatically resize the bounding box to match the source image dimensions. So if your source image dimensions change (if, for instance, you change the source webcam’s resolution), the bounding-box will resize accordingly.
Stretch
This Fill Mode will stretch the source image to fit the box exactly as drawn causing distortion if the bounding box’s aspect ratio differs from the source image’s aspect ratio.
Aspect Fit
This mode will resize the source image to fit inside the box while maintaining its aspect ratio (introducing spaces as necessary along the edges to accommodate). This option is particularly useful when working with full screen images to ensure the source will always fill the screen correctly regardless of any changes to the source's dimensions.
Aspect Fill
This mode will resize the source image to fill the entire bounding box while preserving the source image’s aspect ratio. This may cause the image to spill outside the bounding box in order to fill the bounding box space correctly.
Align
This Fill Mode will align the source image to a location within the bounding box specified by the Alignment property. The size of the source image can be adjusted using the Source Dimensions property.