¶ NDI Sources
The NDI protocol provides a convenient way to transmit video over networks such as Wi-Fi or LAN without the need for traditional HDMI pr SDI cables. To utilize this protocol, simply run a capturing app on your gaming computer and send the video through the network using NDI. Then, on your streaming PC, add the NDI source to the PolypopLive Library panel to effortlessly capture your game.
¶ Adding the NDI plugin to PolypopLive
- Click on the Plugins button located at the top of the UI.

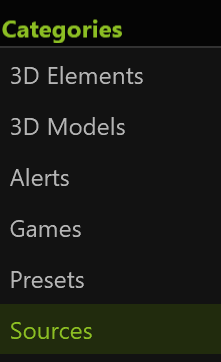
- Select the “Sources” category from the menu.
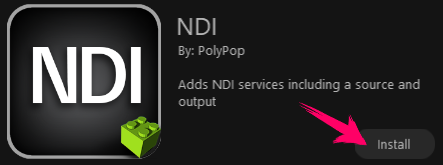
- Locate the NDI plugin and click its “Install” button.
If the plugin is already installed it means you already have it in your app. You do not need to install it again.
¶ Adding an NDI source to your Library panel
Now that we have the NDI plugin installed, let's see how to add it to our project:
-
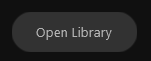
Open the Library panel by clicking on the Open Library button on the lower left of the screen.
-
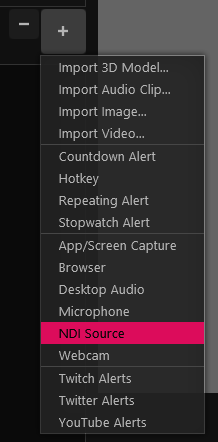
Click the + button located on the lower right side of the Library panel.

-
Select NDI Source from the menu.
-
You now have an NDI Source in the Library panel, located under the “Capture” group.
-
To add the NDI source to your scene simply drag it from the library panel and drop it into the canvas.
You can also apply the NDI source to 3D objects. Refer to the Change the Texture of a 3D Object article for more information.
¶ NDI Source Properties
Once the NDI Source item is selected in the Library Panel its properties will appear on the lower part of the panel.
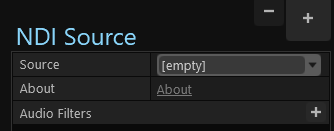
NDI Source properties
¶ Source
Use this drop-down to select the NDI source which will usually have a name relating to the source where the stream is coming from.
¶ Audio Filters
PolypopLive supports audio filters, allowing you to fine-tune the sound of your stream. You can add audio filters to library audio sources, by clicking on the + button next to them and selecting a filter.
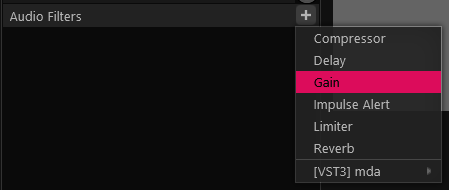
To learn more about Audio filters in PolypopLive please refer to the Audio Filters article.