¶ Plugins
Plugins allow users to customize PolypopLive to their specific needs by installing only the features they want to use. This can help keep the core application lean and efficient. It also allows for flexibility and customization, as users can choose which features they want to use and can easily install or remove them as needed.
¶ Install the plugins you need
-
Click on the Plugins button located at the top of the UI.

-
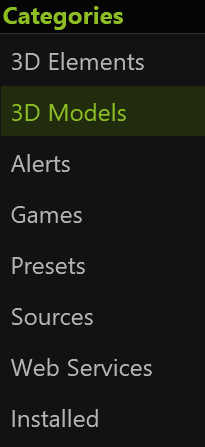
Select a plugin Category from the menu.
For this example, we will choose the 3D Models category.
-
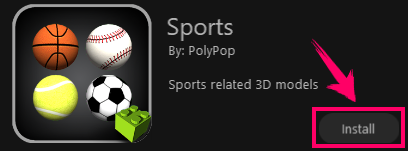
Browse through the plugin options and click the "Install" button next to the ones you want to use.
-
Once installed, Polypop will automatically place the plugin assets in their designated locations.
In this example, the sports 3D objects will be placed in your 3D objects library. You can access these objects by clicking the + button in the Scene Layout panel and selecting the 3D objects category.
Polypop automatically places plugin assets in designated locations based on the type of plugin.
Certain plugins may install various elements in different locations within your app.
For example, the "Minecraft Starting Soon Scene" plugin installs the Minecraft scene in the Scene Layout Themes category (which can be accessed by clicking the + button in the Scene Layout panel and selecting the Themes category), and also installs a Minecraft 3D cube object in the 3D Objects Library. This newly installed cube object will be available for use in other Polypop projects and can be accessed in the 3D Objects Library at any time.
If a plugin you want is already installed it means you already have it. You do not need to install it again.
¶ View all installed plugins
To view all the plugins you already installed in the app:
-
Click on the Plugins button located at the top of the UI.
-
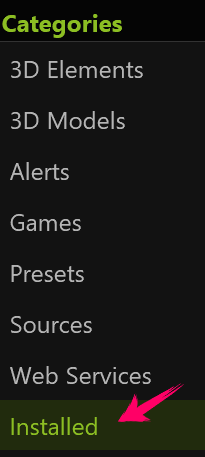
Select the “Installed” plugin Category from the menu.
-
You can now view the all installed plugin in the app.
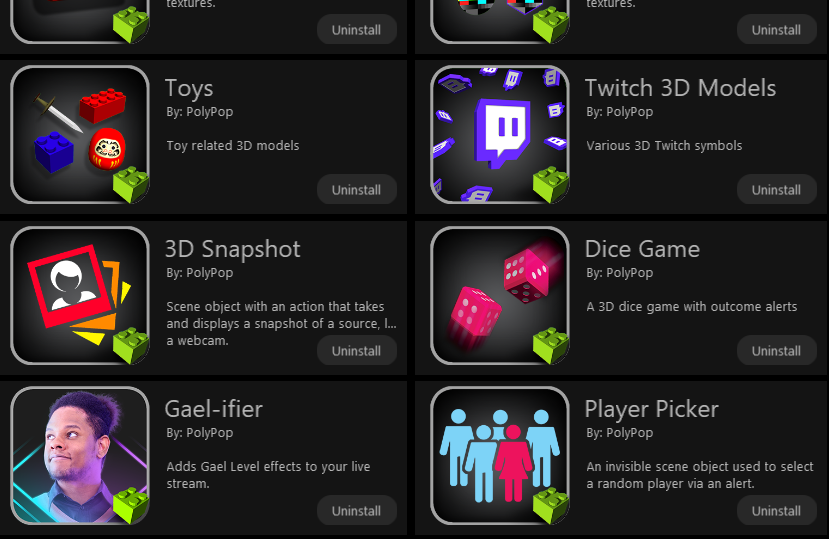
Here is an example of what the installed plugins window may look like
¶ Uninstall a plugin
If you no longer wish to use a particular plugin, you can easily uninstall it.
-
Click on the Plugins button located at the top of the UI.
-
Select the “Installed” plugin Category from the menu.
-
Browse through the installed plugins and locate the plugin you wish to uninstall.
-
Click on the Uninstall button.

When you uninstall a plugin, all of its associated assets will also be removed. For example, if you uninstall the “Christmas Scene 1” plugin, the "Transparent Christmas Ornament" 3D object that came with the scene will be deleted from your 3D Objects library.
If you open a project that has assets that you previously installed (like 3D objects or image filters) but later uninstalled, PolypopLive will automatically reinstall the plugin of these assets, to ensure that the project loads correctly.