¶ GIF Generator Plugin
The GIF Generator plugin expands your streaming capabilities by offering a new output option. With this option, you can now record a GIF of either your active scene or a pre-made scene (Scene Image) while streaming. You can generate these GIFs yourself or allow your viewers to create them by connecting the GIF output to an alert.
¶ How to install the GIF Generator Plugin
With plugins, PolypopLive users can customize the app to suit their particular needs, installing only the features they require.
To learn more about the Candy Pack add-on and all the plugins that are included with it click here.
¶ Installing the GIF Generator plugin
-
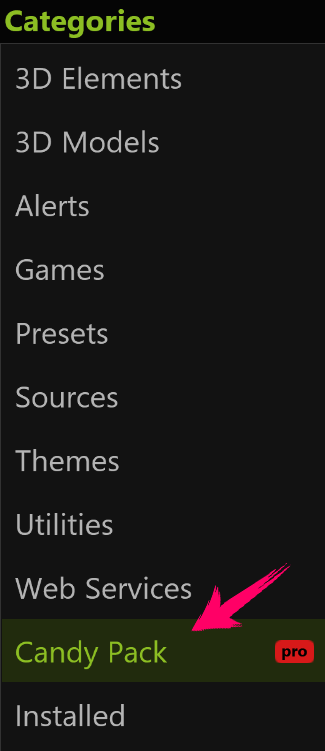
Click on the Plugins button located at the top of the UI.

-
Select The Candy Pack category from the list on the left.
-
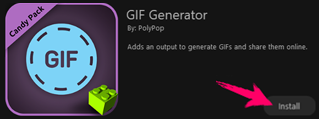
Browse through the plugin options and click the "Install" button next to the GIF Generator plugin.
-
A new output will be added to the “Go Live” area as an output option for the active scene or for a Scene Image.
¶ Generate a GIF animation from your livestream
-
Once you've installed the GIF generator plugin, navigate to the bottom of the app and hover over the "Go live" section.
-
You'll notice that a new GIF output has been added.
-
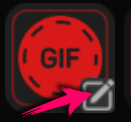
To customize the properties of the GIF output, hover over the GIF output icon and click on the small edit icon in the lower right corner of the icon.

-
Within the properties window, you can make various adjustments to how GIFs are generated including:
- Choosing the encoder that you want to use.
- Selecting the location where you want to save the GIF file on your computer.
- Setting the duration of the animation (up to 30 seconds).
- Adjusting the vertical resolution of the GIF.
- Specifying the FPS (frames per second) for the animation
-
To record, simply click on the GIF icon, or wire an alert, such as a hotkey, to it. For instance, if you want to give your viewers the ability to create GIFs, attach a channel point or chat command alert to the GIF output.
¶ Generating a GIF animation using a Scene Image
Scene Images are “off-screen” scenes that render into textures. You can design Scene Images using any 2D, 3D, or Image Filter element available in the Scene Object browser. As textures, Scene Images can be applied to elements on your canvas or can be used to generate additional outputs, such as videos, live streams, or (as we’ll see in the following example) animated GIFs.
To learn more about the Scene Image please refer to the Scene Image Plugin document.
-
First off, to work with Scene Images you’ll need to install the Scene Image Plugin. This plugin is part of the Candy Pack add-on. To install it:
-
Click on the Plugins button located at the top of the UI.
-
Select The Candy Pack category from the list on the left.
-
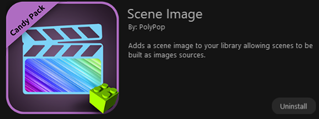
Browse through the plugin options and click the "Install" button next to the Scene Image plugin.
-
If you haven't subscribed to the Candy Pack add-on service, you will be redirected to the subscription webpage. Simply follow the instructions provided there to subscribe. Once you have subscribed, return to PolypopLive and click on the "Install" button for the Scene Image plugin.
-
You can now add the Scene Image source to your project.
-
-
Now, let's install the GIF generator plugin. Repeat stage 1, but instead of installing the Scene Image plugin install the GIF generator plugin. If you already did that you can skip this stage.
-
Now that we made sure we have both plugins installed let’s create a scene that will be captured as a GIF.
-
First, open the Library panel by clicking the + button on the bottom left side of the screen.
-
To pin the Library panel to the UI, click on the pin icon located at the top-right corner of the panel.
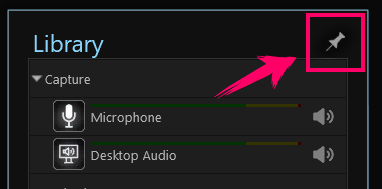
(While this step can make the subsequent stages more convenient, it is not mandatory).
-
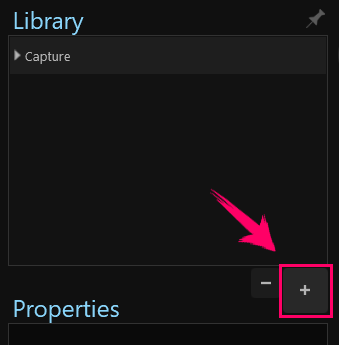
Click the + button on the bottom right of the Library panel.
-
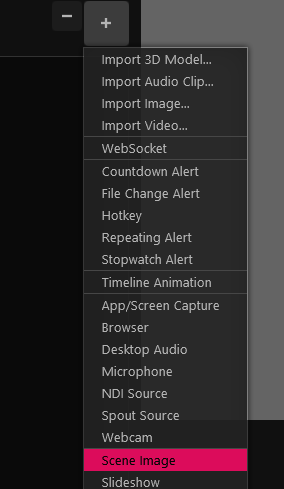
Next, from the menu that appears, click the Scene Image item.
-
You should now have a new Scene Image in your Library.

-
Now let’s add a GIF generator output to our Scene Image source.
Make sure the Scene Image item is selected in the Library panel.
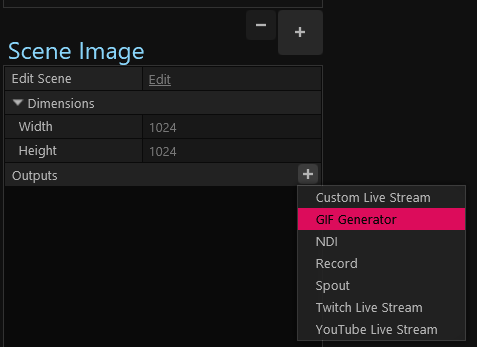
Now in the Scene Image’s properties, click on the “+” button next to the Outputs property. -
Select the “GIF Generator” item from the menu.
-
A new GIF Generator output was added to the Outputs list.

-
Expand it to see its settings.
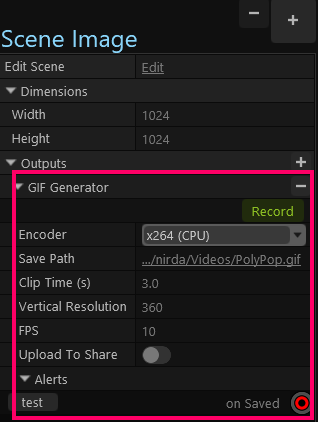
Here you can make various adjustments to the GIF animation output, including:
- Choosing the encoder that you want to use.
- Selecting the location where you want to save the GIF file on your computer.
- Setting the duration of the GIF animation (up to 30 seconds).
- Adjusting the vertical resolution of the animation.
- Specifying the FPS (frames per second) for the animation
-
Once your scene is set up, you can use the Record button to create a GIF animation of the Scene Image. When recording is activated, it will record until the duration set has been reached. You can connect any alert such as a hotkey, Twitch/YouTube alert, or an Action Sequence to make a recording. You can do this by connecting an alert to the Record button:
-
Start by pulling a wire from your alert.
-
If the Scene Image properties are not visible, drag and hover the wire over the Scene Image in the Library panel to display its properties. Then, hover over the "Output" property to expand it (if its not expanded).
-
Finally, connect the wire to the flashing socket next to the Record button. This will cause a GIF animation of the Scene Image to be recorded every time the alert is triggered.
Connecting hotkey Action Sequence to the Scene Image GIF generator output record button
-