¶ How to show the profile picture of the viewer who triggered an alert on Twitch and Youtube
One effective strategy to increase engagement during your livestream is to incorporate personalized alerts. For example, when a viewer donates to or subscribes to your channel, you can display a thank-you message with their name but also add their profile picture as an added touch of intimacy. This can encourage other viewers to take similar actions, and make the overall viewing experience more interactive.
With PolypopLive, you have the ability to utilize the viewer's profile pictures as textures for both 2D images and 3D models.
This guide will show you how to connect an alert to an element, such as a 3D object or a 2D image, to display the profile picture of the viewer who triggered it.
First, you will learn how to add an alert and a 2D image to your project. Then, you will learn how to link them together to transfer the profile picture data from the alert to the element that displays it.
This document has 4 sections:
- Adding an alert
- Adding a 2D image
- Connecting the alert to the 2D image element in order to show the Viewer’s profile picture
- Connecting the alert to a 3D object in order to show the Viewer’s profile picture as a texture on the 3D object.
To show your Twitch or YouTube viewers profile picture you will need to connect Polypop to these accounts.
To learn how to connect to Twitch please refer to the Connecting to Your Twitch Account article.
To learn how to connect to YouTube please refer to the Connecting to Your YouTube Account article.
The examples in this document will use Twitch alerts but can be applied to Youtube Alerts as well.
¶ First, you will need to have an alert
To display a viewer's profile picture when an alert is triggered, you will first need to set up an alert. For the purpose of this guide, we will use a Twitch "on New Follower" Alert as an example, but the process can be applied to any other types of alerts on both Twitch and YouTube platforms.
-
Open the Library panel by clicking the “Open Library” button on the lower left side of the screen.
-
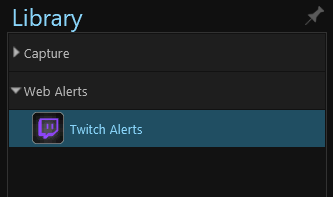
In the Library panel, select the Twitch Alerts layer located under the Web Alerts menu.
If you do not have the Twitch Alerts source please follow the Connecting to Your Twitch Account article to learn how to add it.
-
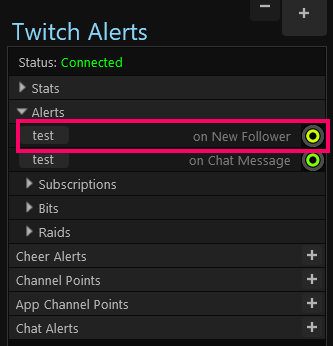
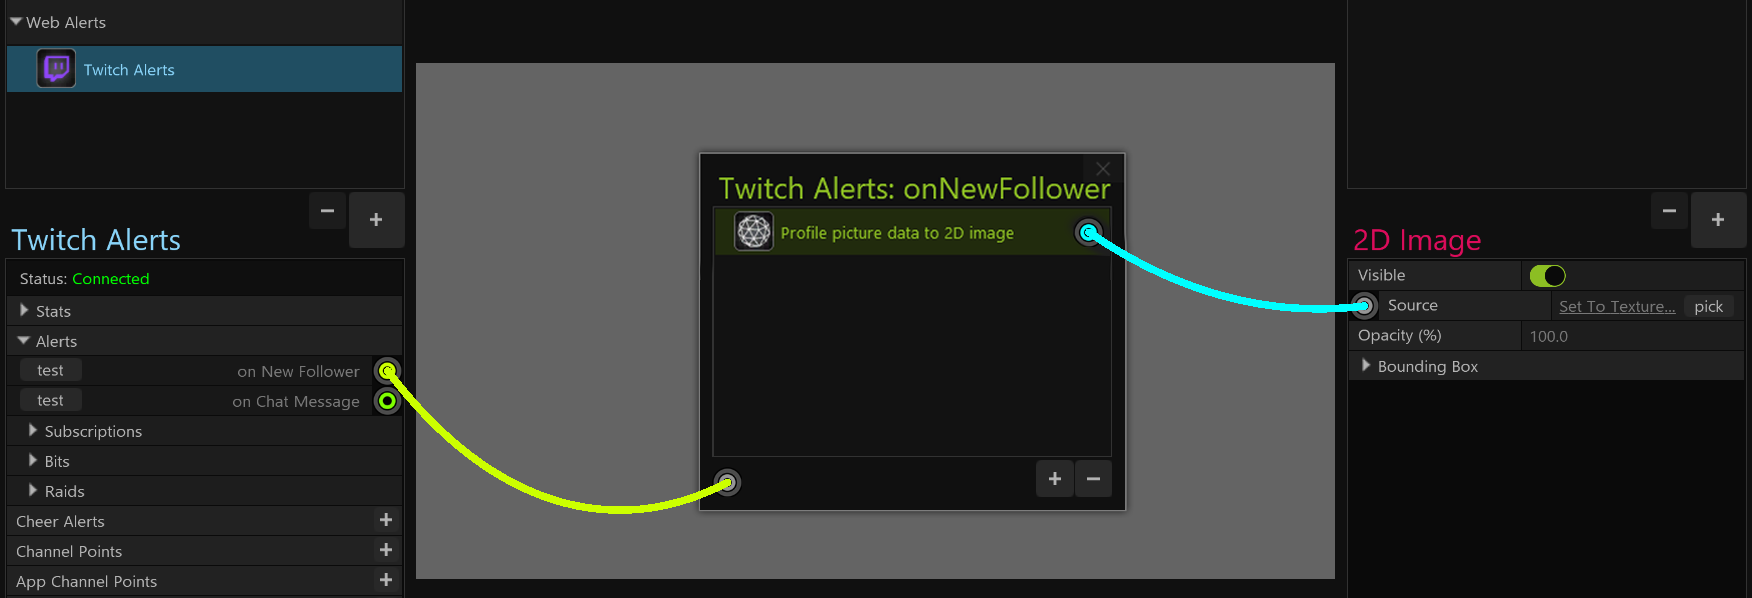
By selecting the Twitch Alert layer, you will be able to access its properties. Here, you can find, create, and connect all of the Twitch alerts. As previously mentioned, for the purpose of this guide we will use the Twitch "on New Follower" alert, located under the "Alerts" menu.
-
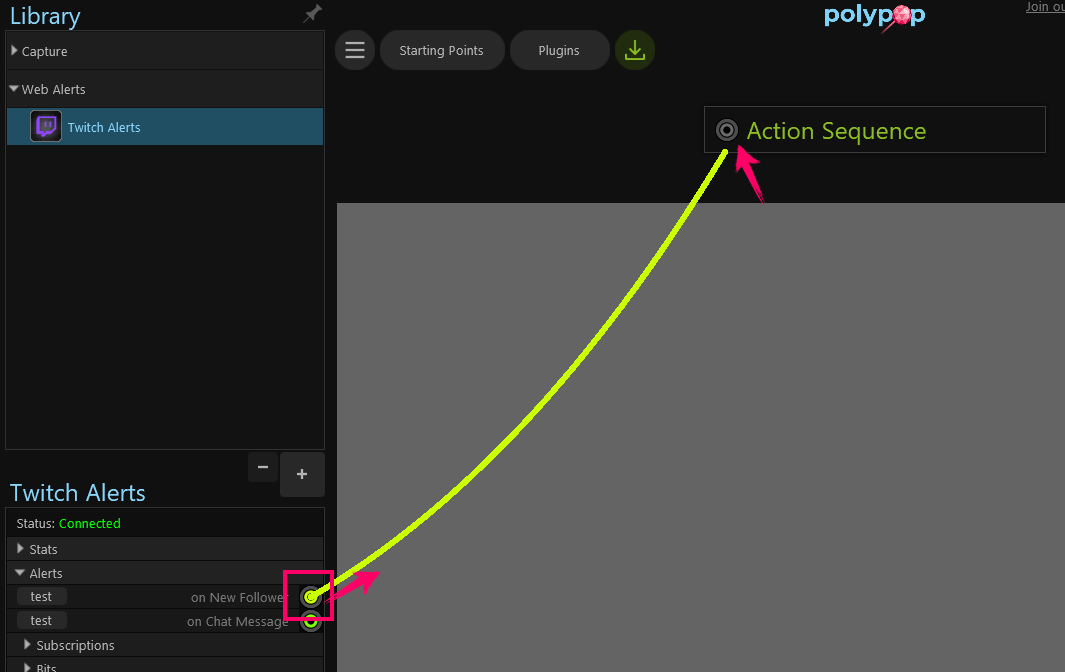
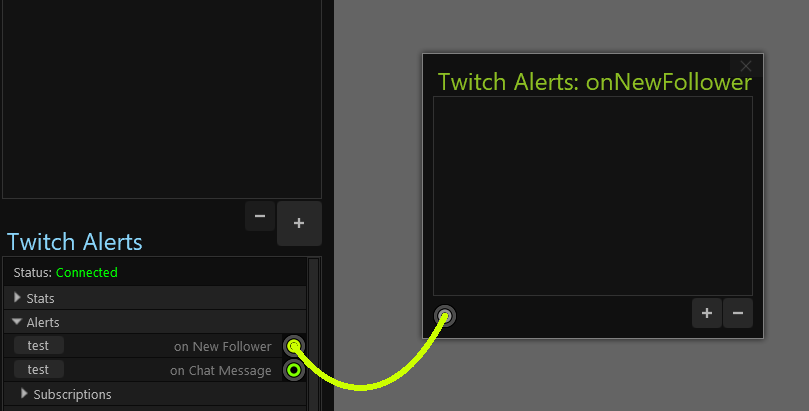
To create an animation for the alert, let's now connect the "on New Follower" alert to an Action Sequence. To do this, you can pull a wire from the "on New Follower" alert socket and connect it to the "Action Sequence" window that appears in the top center of the application.
-
The Action Sequence’s name will change according to the alert it’s connected to
Action Sequences are a powerful and important tool for managing alerts.
If you're not familiar with Action Sequences, we recommend checking out the Action Sequences article to learn more.
¶ Showing the viewer’s profile picture as a 2D image
Now that we have set up an alert, we will need to add an element to our scene that can display the profile picture of the viewer who triggers it. This section will explain how to display the profile picture as a 2D image.
First, let's add a 2D Image element to our project.
-
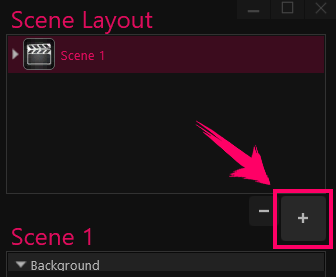
Click on the big + button in the Scene Layout panel.
-
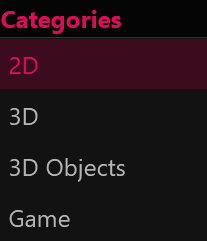
Select the 2D category from the menu.
-
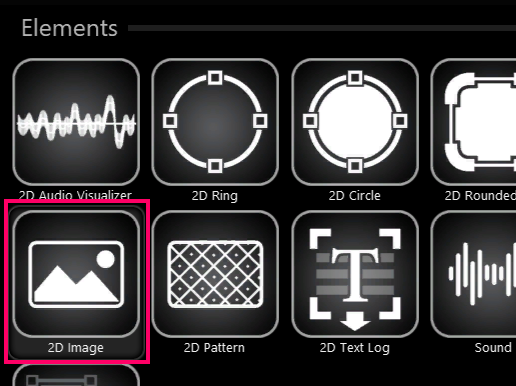
Double-click the 2D image icon to add it to your scene.
-
When adding a 2D image element to the scene, a window will appear which offers the option to choose a texture for it. Since the texture will change with each viewer who triggers the alert, it is suggested to click the "Cancel" button, leaving the texture selection empty for now.

-
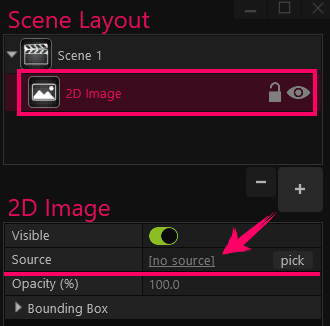
A textureless 2D image layer was added to your scene.

Because we didn’t assign a texture to the image it will show a “No Source” texture. -
Accordingly, a 2D image layer was added to the Scene Layout panel.
-
Selecting the 2D layer in the Scene Layout panel will show us its properties.
Looking at the source properties will show us the 2D image has no source.
¶ Connecting the alert to the 2D image element in order to show the Viewer’s profile picture
With the scene now equipped with an alert connected to an Action Sequence, and a 2D image element, all that remains is to link them together so that the profile picture data of the viewer who triggers the alert can be displayed on the 2D image element.
-
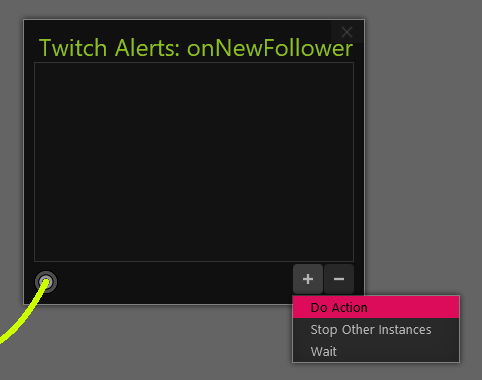
First, let's add an action alert to the Action Sequence we created by clicking on the + button in the Action Sequence window and selecting the “Do Action” option.
-
We now have a new action in our Sequence.
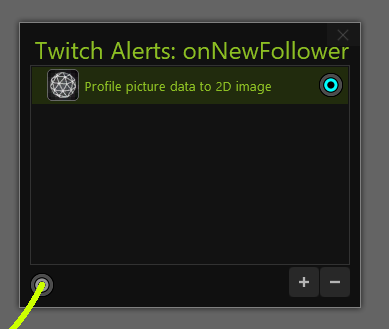
Renaming the actions in the Action Sequence will make an easier workflow. -
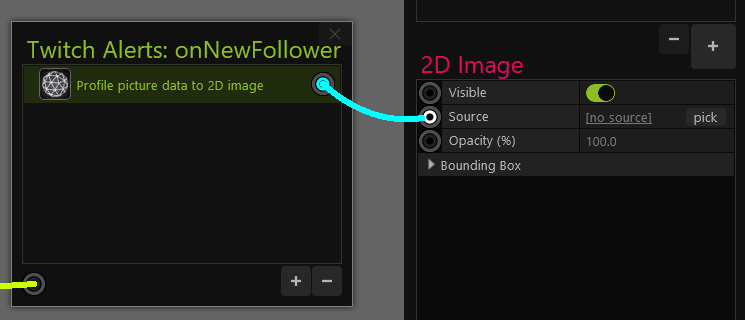
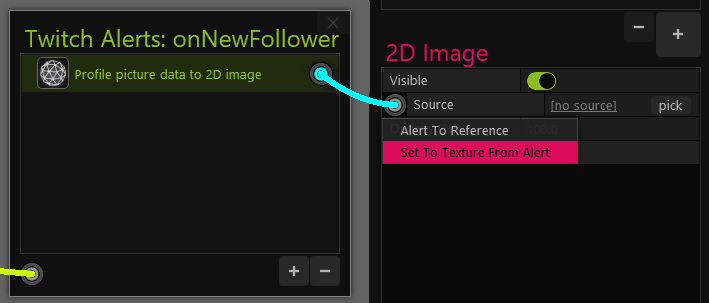
To connect the Action Sequence to the 2D image element in the scene, first, ensure that the 2D image element is selected in the Scene Layout panel on the right side of the application. Next, create a connection by pulling a wire from the alert’s socket in the Action Sequence to the "Source" socket in the properties of the 2D image element.
-
Select the “Set To Texture From Alert” option from the dropdown menu.
-
When the wire properties window opens, it will show the Image URL is the <profile_url>
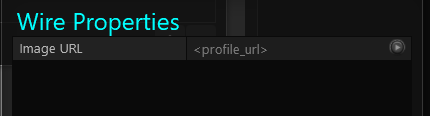
You can close the Wire Properties window by clicking anywhere outside it.
-
With this connection established, we can now easily visualize the flow of the viewer's profile picture from the Twitch alert to the Action Sequence, ultimately resulting in the update of the 2D image.
-
To test the alert and make sure it works click on the “Test” button next to the “on New Follower” alert.
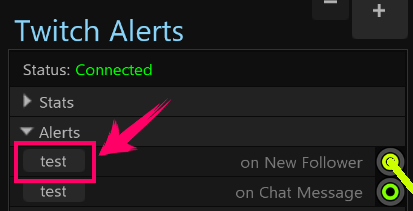
The 2D image element will now show Polypop’s test user profile picture.
¶ Connecting the alert to a 3D object in order to show the Viewer’s profile picture as a texture on the 3D object
In the previous section, we walked through the process of displaying a viewer's profile picture in a 2D image element. In this section, we will be expanding upon that by showing you how to apply the profile picture of the viewer who triggers an alert onto a textured 3D object.
-
Make Sure you have an alert in your project, and connect to an Action Sequence (see section 1 of this document).
-
Add a Textured 3D object to your project.
To learn how to do it please review the Change the Texture of a 3D object article.
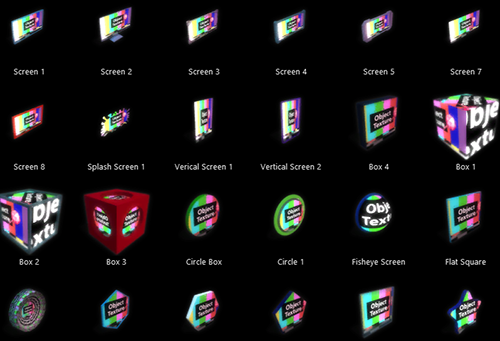
A few examples of “Textured 3D Objects” you can find in Polypop’s 3D object library and apply the viewer’s profile picture to -
Now that we have an alert connected to an Action Sequence and a textured 3D object in the project, the final step is to connect them with a wire, allowing the profile picture data of the viewer who triggers the alert to flow seamlessly to the 3D object, where it will be applied as its texture.
-
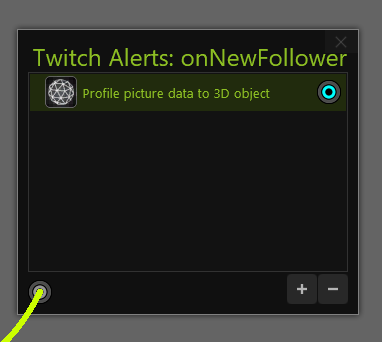
Add a “Do Action” alert to the Action Sequence we created before, by clicking on the + button in the Action Sequence window and selecting the “Do Action” option.
-
We now have a new action in our Sequence.
-
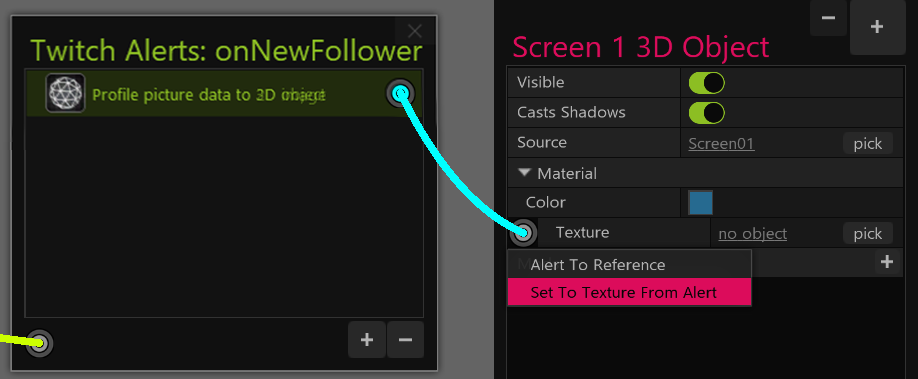
To connect the Action Sequence to the "Textured 3D Object" in our scene, ensure that the 3D object is selected in the Scene Layout panel on the right side of the application. Then, connect a wire from the Action Sequence alert to the Texture socket under the Material menu of the 3D object's properties.
-
Select the “Set To Texture From Alert” option from the dropdown menu.
-
The wire properties window will be opened, showing you the Image URL is the
<profile_url>
You can close the Wire Properties window by clicking anywhere outside it. -
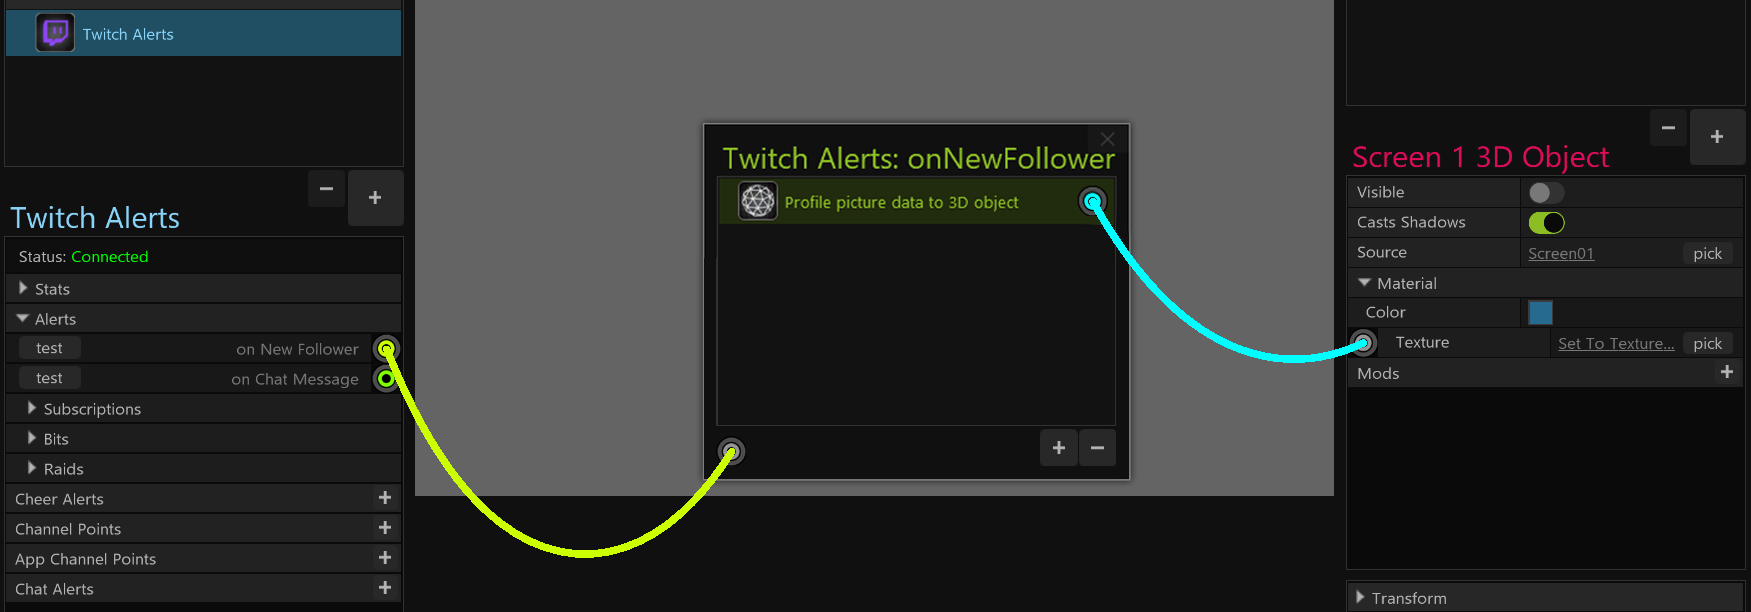
With this setup in place, we can clearly visualize the flow of the viewer's profile picture data from the alert to the Action Sequence, and ultimately to the 3D object's texture, allowing us to apply the profile picture as the texture of the 3D object.
-
To test the alert and make sure it works click on the “Test” button next to the “on New Follower” alert.
Now, Polypop’s test user profile picture will be used as a texture for the 3D object.