¶ Scene Image Plugin
The Scene Image plugin provides users with the ability to create custom-sized scene sources within the Library panel. This plugin has two main functions:
Firstly, it allows users to create scenes that use their livestream assets in a different format and record them while livestreaming. For instance, if you want to record a vertical TikTok format video while streaming on Twitch or YouTube, this tool would come in handy.
Secondly, the plugin enables users to create scenes and use them as 2D or 3D textures. This feature is useful if you want to use your webcam as a texture for a 3D screen and add additional 3D objects and effects to the screen. To achieve this, you can create your Scene Image source with your desired elements, including the webcam, and then use it as a texture for your 3D screen.
¶ How to install the Scene Image plugin
Plugins allow users to customize PolypopLive to their specific needs by installing only the features they require.
To learn more about the Candy Pack add-on and all the plugins that are included with it click here.
¶ Installing the Scene Image plugin
-
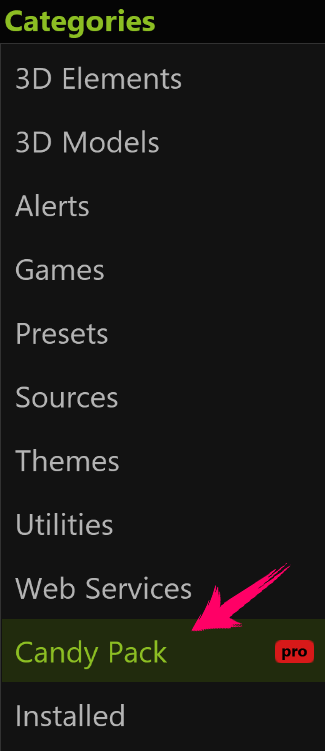
Click on the Plugins button located at the top of the UI.

-
Select The Candy Pack category from the list on the left.
-
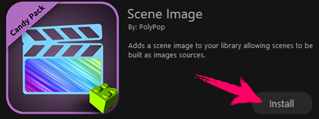
Browse through the plugin options and click the "Install" button next to the “Scene Image” plugin.
-
You now have the ability to add a Scene Image source to your Library panel.
¶ How to add a Scene Image Source to your project
-
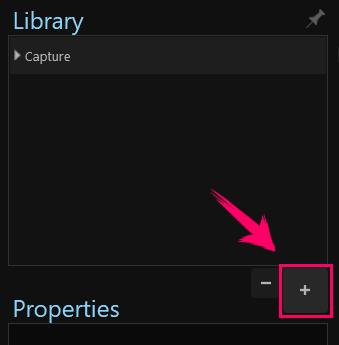
First, open the Library panel by clicking the + button on the bottom left side of the screen.

-
To pin the Library panel to the UI, click on the pin icon located at the top-right corner of the panel.

(While this step can make the subsequent stages more convenient, it is not mandatory).
-
Click the + button on the bottom right of the Library panel.
-
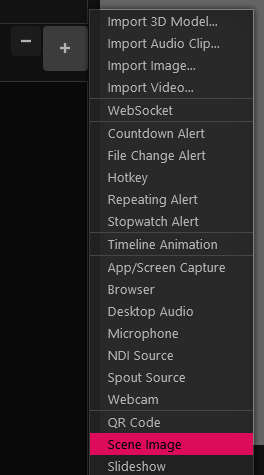
Next, from the menu that appears, click the Scene Image item.
-
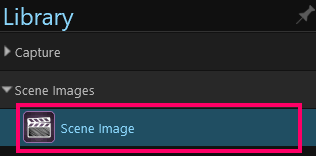
A new “Scene Image” layer was added to your Library Panel.
-
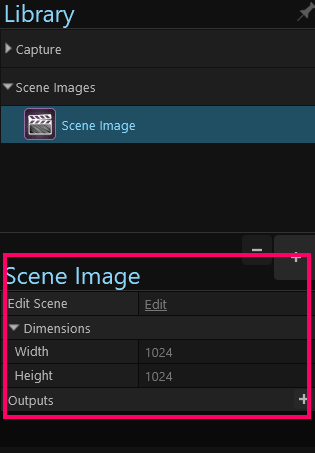
When you select the Scene Image layer, the Scene Image properties will be displayed at the bottom of the Library panel. Additionally, the user interface will change to show only the new scene, providing you with the tools to edit and design it as per your preferences.
To create your new scene, you can use the Library panel to add available sources or select from a variety of Scene Layout categories by clicking the Scene Layout “+” button.
The Scene image properties -
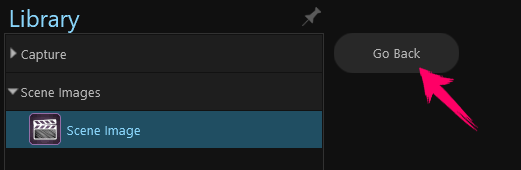
When you finish editing your Scene Image, click on the “Go Back” button that is located at the top left of the app.
-
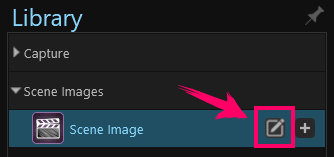
If you need to make changes to the Scene Image, you can easily return to edit mode. To do so, hover over the Scene Image layer located in the Library panel, and click on the small edit icon that appears.
¶ How to Add the Scene Image Source to a Scene
After designing your Scene Image you can add it to any scene in your project (nesting).
-
Before proceeding, ensure that you have exited the Scene Image edit mode. If you haven't, simply click on the “Go Back” button that is located at the top left of the app.
-
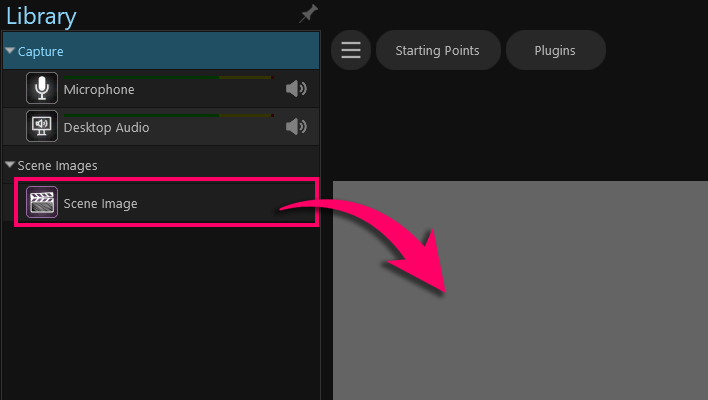
To add the Scene Image source to your scene, simply drag and drop the Scene Image layer from the Library panel into your canvas.
-
Once you have placed your Scene Image source in your scene, a new “Scene Image 2D Layer” will be added to your Scene Layout panel. You can select this layer to access its properties and modify it just like any other image in your scene. For example, you can change its position, opacity, and more.
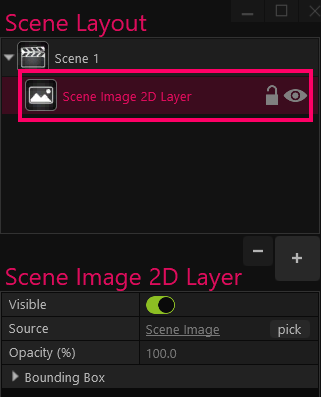
After adding the Scene Image source from your Library Panel to your project a “Scene Image 2D Layer” will be added to the Scene Layout panel.
¶ How to create additional active outputs using Scene Images
The Scene Image is an incredibly useful feature that allows you to record or output itself, regardless of what happens in your main active scene. With this feature, you can easily record videos or live stream to a different platform with different aspect ratios. For instance, you can use your active scene for streaming to Twitch or YouTube in a horizontal format, while using the Scene Image to stream to TikTok in a vertical format.
-
First make sure you downloaded the Scene Image plugin and added it as a source to your Library panel, as explained above.
-
Open the Library panel and select the Scene Iamge layer to see its properties.
The Scene image properties -
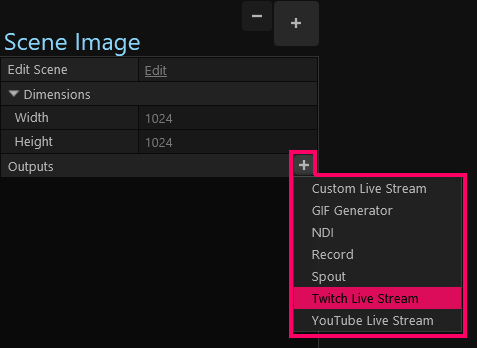
In the Scene Image properties, you can change the scene’s dimensions, according to your needs. For example, if you want to use this scene for TikTok, you would change it to 1080x1920.
-
Click on the “+” button next to the Outputs line, and choose your desired output.
-
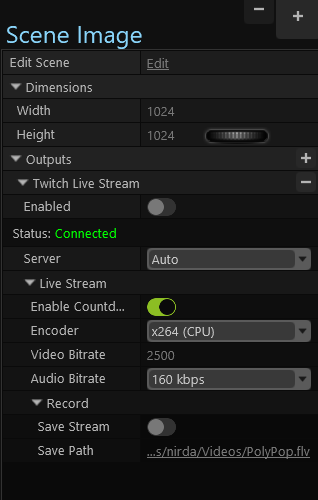
After selecting an output, you’ll be able to see and access its properties.
-
To start streaming the Scene Image, toggle the “Enable” button.
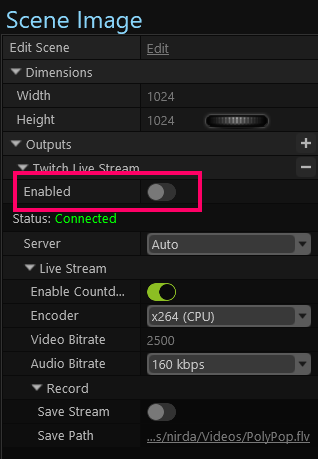
-
If needed you can connect a hotkey to the Enabled button. To do that, simply pull a wire from the hotkey, and while clicking on the mouse hover over the Scene Image layer to open its properties and connect the wire to the “Enabled” button.
-
Enabling the “Record” button will save a copy of the Scene Image livestream on your computer.
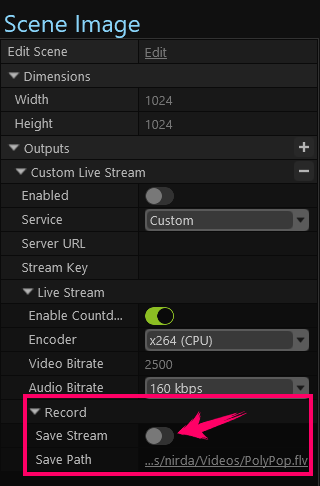
If you just want to record the Scene Image without livestreaming it, simply click on the “+” button next to the “Outputs” line, and add choose the “Record” item for the menu.