¶ EposVox 90s plugin
The EposVos 90s plugin offers a unique and nostalgic experience for your livestream with its retro features.
This is a robust plugin that includes:
- VHS Webcam Scene
- Four new retro image filters
- VHS Scene Transition
- Six new 3D objects
- 90s Background Generator and 90s Patterns and Shapes
This document will review all of them.
¶ How to install the EposVox 90s plugin
Plugins allow users to customize PolypopLive to their specific needs by installing only the features they want to use. This can help keep the core application lean and efficient. It also allows for flexibility and customization, as users can choose which features they want to use and can easily install or remove them as needed.
-
Click on the Plugins button located at the top of the UI.

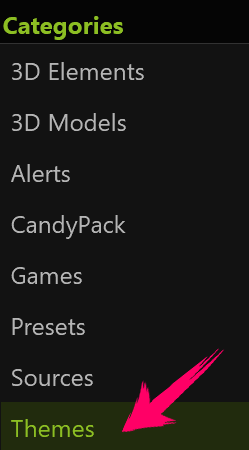
-
Select the Themes category from the menu.
-
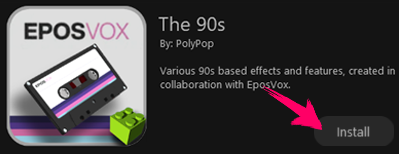
Browse through the options until you find the EposVox 90s plugin
and click the "Install" button next to it.
Once the plugin is installed - all of its assets (such as 3D Models, image filters, and more) will be placed in their designated place in the app.
This document will show you what they are and where are they located.
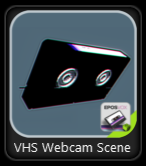
¶ VHS Webcam Scene
This scene simulates a VHS camera recorder. You can add this scene to any Polypop project.
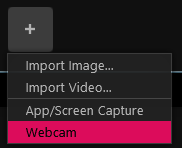
¶ To add the VHS Webcam Scene to your project
-
Click on the big + button in the Scene Layout panel (on the left side of the app).
-
Select the Themes category from the menu.
-
Double-click the VHS Webcam Scene Icon
-
PolypopLive will now ask you to choose a source for the webcam in the scene.
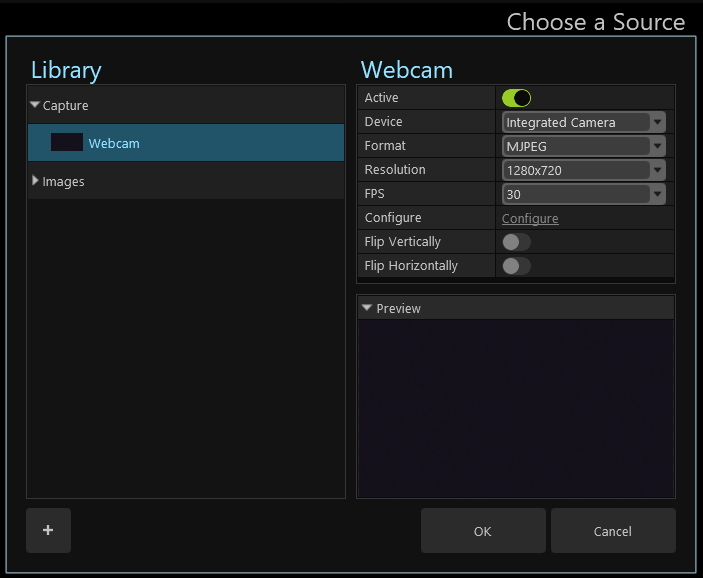
If a webcam source does not appear in the window you can click the + button on the lower left side of the screen and add it. Make sure your webcam is not used in other apps.
Select your webcam and click “OK”. -
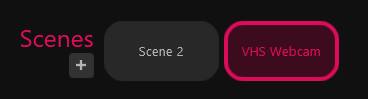
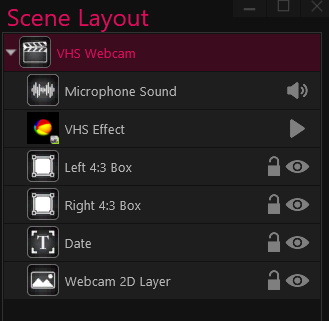
A new VHS Webcam scene was added to your project.
-
Looking at the Scene Layout panel will show you the scene's layers.
You can add the VHS webcam scene multiple times to the same project or to any other project.
¶ Four new retro image filters
The EposVox 90s plugin includes four analog-inspired image filters:
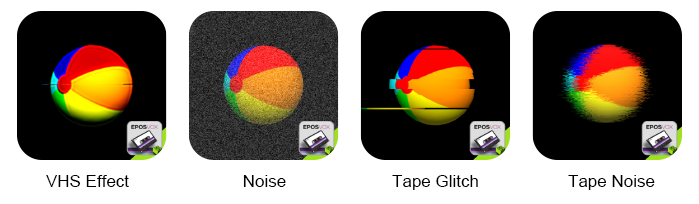
- VHS Effect: Filters the image to simulate VHS video using various degradations
- Noise: Blends in a static/noise effect into the darkest parts of the image
- Tape Glitch: Adds random horizontal distortion lines to the image
- Tape Noise: Adds pixel distortion to approximate VHS signal wear
For an in-depth understanding of the image filters in PolyopopLive, please read the Image Filters article.
To add these image filters to your project:
-
Click on the big + button in the Scene Layout panel.
-
Select the Image Filters category from the menu.
-
Find the image filter you want and simply double-click its icon to add it to your scene.
-
A new image filter layer was added to the Scene Layout panel.

When you select an image filter layer in the Scene Layout panel (located on the right side of the app), You will see the image filter’s properties at the bottom of the panel.
Tweaking these properties will change the effect behavior.
Connecting these properties to alerts (like Twitch or YouTUbe alerts) will give your viewers the ability to change them.
When working with an image filter in a scene, it is important to note that the filter will affect all layers beneath the filter layer in that scene. However, if you wish to selectively apply an image filter to a specific source without affecting other layers, you can do so in the Crop and Filter mode. For more information on this, please refer to the Crop and Filter Mode article for guidance.
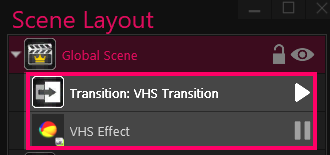
¶ VHS Scene Transition
The EposVox 90s plugin also includes a VHS Scene Transition. This feature will create a glitchy, analog look to the transition between your project's scenes.
For an in-depth understanding of the available transitions in PolyopopLive, please read the Transitions article.
To add the VHS Scene Transition to your project:
-
Click on the big + button in the Scene Layout panel.
-
Select the Transitions category from the menu.
-
Find the VHS Scene Transition and simply double-click its icon to add it to your project.

-
A new VHS Transition was added to your project.
-
To see the VHS transition effect in action, switch between the scenes in your project.
If you have only one scene you will need to add another scene to be able to transition between them. -
To customize the VHS Transition and VJS effect in your project, simply select the respective layers in the Scene layout panel. This will reveal their properties, which can be adjusted to control the transition length and effects. Experiment with the settings to create the desired look for your project.
When adding a transition - PolypopLive will place it inside the project’s Global Scene, who will always be on top of all other scenes. If your project does not contain a Global Scene, PolypopLive will automatically add it.
To learn more about the global scene please refer to the Global Scene article.
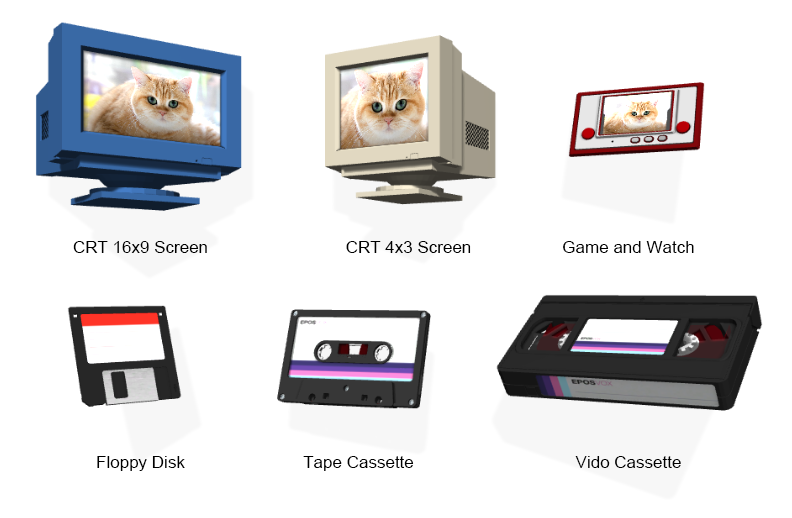
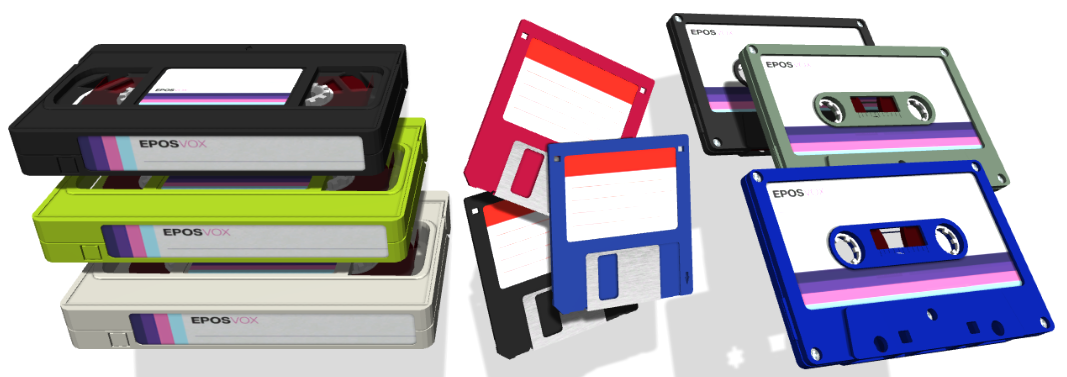
¶ Six new 3D objects
The EposVox 90s plugin contains six 90s-related 3D objects.
To add one of the EposVox 90s plugin 3D objects:
-
Click on the big + button in the Scene Layout panel.
-
Select the 3D Objects category from the menu.
-
Find the 3D object you want and simply double-click its icon to add it to your scene.

-
You now added a 3D object to your scene. Accordingly, a new layer was added to your Scene Layout panel. Selecting the 3D object’s layer in the Scene Layout panel will show you the object’s properties.
One of the things you can customize in the 3D object layer properties is the color of the 3D objects
You can change the object’s properties and also connect them to alerts to create interesting animations.
To learn how to do that please refer to the Action Sequence article. -
If you added one of the 3D screens (CTR 16x9 Screen, CTR 3x4 Screen, or the Game & Watch), PolypopLive will ask you to choose a texture for the object you chose by showing you the available sources in your library that can be used as a texture for the 3D object.
If you want to assign a texture that is not yet imported to the library, you can click on the + button in the lower left corner, import it and use it as a texture for the object.
To learn more about changing the texture to 3D objects in PolypopLive please read the Change the Texture of a 3D object article.
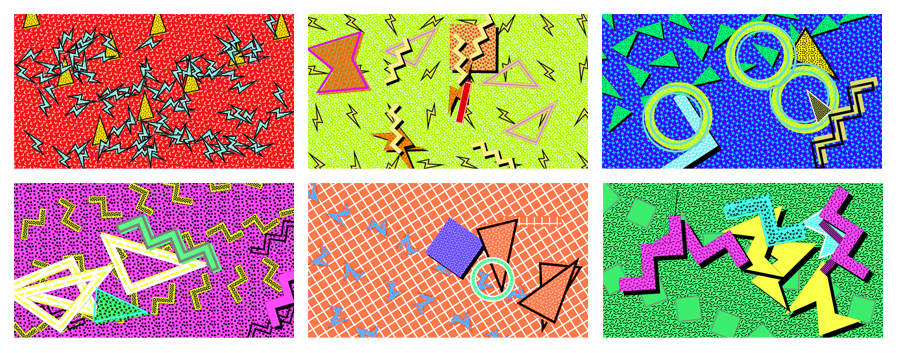
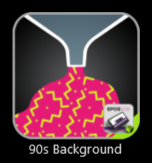
¶ 90s Background Generator
The EposVox plugin offers a convenient 90s Background Generator feature, allowing you to effortlessly create nostalgic animated backgrounds. Customize the colors, shapes, and animation to perfectly match your project's aesthetic needs.
¶ To add a 90s background:
-
Click on the big + button in the Scene Layout panel.
-
Select the 2D category from the menu.
-
Scroll down to the “Presets” section, and double-click the “90s Background” icon
-
A new 90s-inspired background will be added to your scene.
A prompt will appear at the bottom of the screen, inviting you to press the "Reset" button within 5 seconds to generate a new background. Continuously click the button until you find the perfect background that suits your needs.

Remember, once you've added a background, you can easily customize the colors, animation, and shapes to your liking.
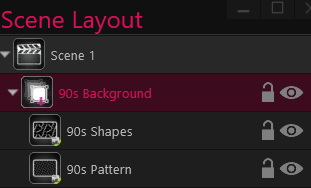
-
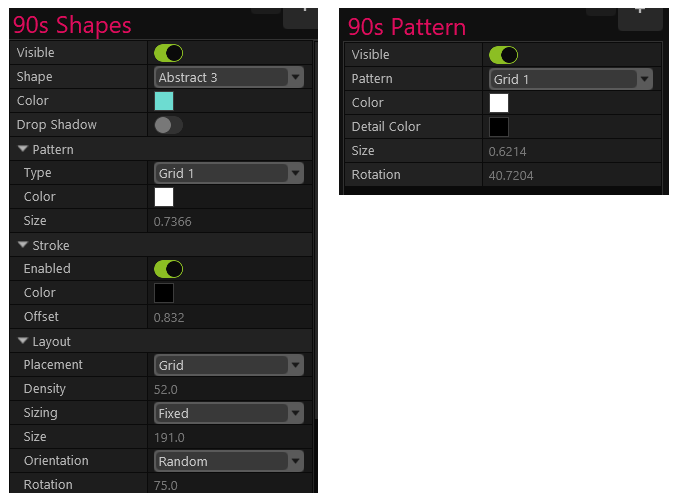
A new layer group, "90s Background," has been added to the Scene Layout panel. By expanding the group, you will be able to view its layers, which include "90s Shapes" and "90s Backgrounds." These elements give you the flexibility to customize your background to your specific needs.
-
By selecting one of the "90s Shapes" and "90s Backgrounds" layers, you will be able to access their properties, giving you the ability to customize the colors, animations, and shapes of each layer to your liking. These options allow you to create a background that perfectly matches the aesthetic of your project
-
In addition to using the "90s Shapes" and "90s Backgrounds" elements as part of the generated background, you also have the option to add them separately to your project for further customization or as standalone elements. To do so, simply follow these steps:
- Click on the + button in the Scene Layout panel.
- Select the 2D category from the menu.
- Double-click the element you wish to add.
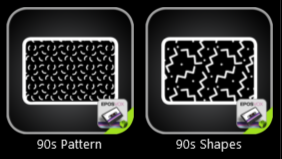
- The element will be added to your scene and a corresponding new layer will appear in the Scene Layout panel.