¶ Web Requests Plugin
This plugin allows PolypopLive to request from URLs via a wirable action. This enables you to integrate with automation services like “If This Then That” (http://ifttt.com ) to ultimately trigger events on those services when the action is fired. In addition, this plugin allows you to integrate with and/or request data from REST APIs.
For a tutorial on how to control Philips Hue, see the following article: Controlling External Devices
¶ How to install the Web Request Plugin
Plugins provide users with the ability to tailor PolypopLive according to their individual requirements, by enabling them to install only the specific features they need.
To learn more about the Candy Pack add-on and all the plugins that are included with it click here.
¶ Installing the Web Request plugin
-
Click on the Plugins button located at the top of the UI.

-
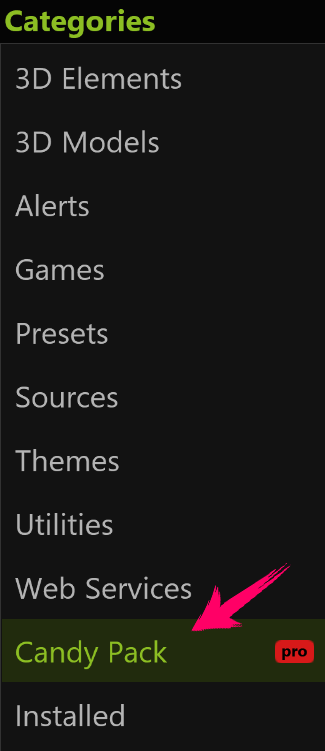
Select The Candy Pack category from the list on the left.
-
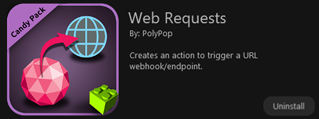
Browse through the plugin options and click the "Install" button next to the “Web Request” plugin.
-
You can now add a Web Request source to your Library.
¶ To add a Web Request source to your project:
-
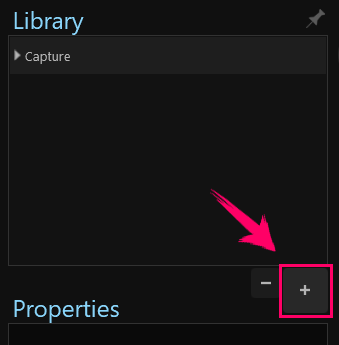
First, open the Library panel by clicking the + button on the bottom left side of the screen.

-
To pin the Library panel to the UI, click on the pin icon located at the top-right corner of the panel.
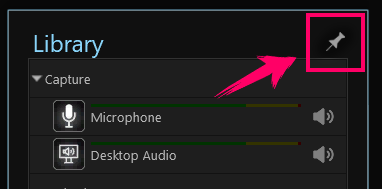
(While this step can make the subsequent stages more convenient, it is not mandatory). -
Click the + button on the bottom right of the Library panel.
-
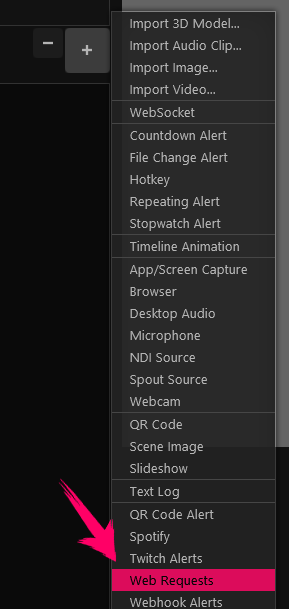
Next, from the menu that appears, click the Web Requests item.
-
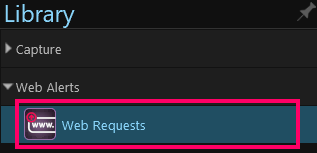
A new “Web Requests” source should be added to your Library.
-
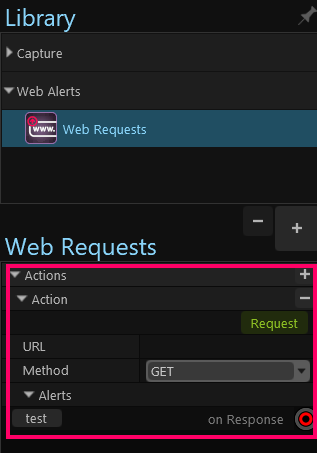
Selecting the Web Requests layer will show us its properties.
-
Let’s look at each property:
- The Request action will perform the actual request (e.g. will visit the URL given)
- The URL property should be set to the URL that is requested/visited when the Request action is activated
- The Method sets the request method. This property should be considered if you are integrating with a REST API)
- The Content-Type property (visible when the POST Method is selected) sets the content-type header representing the data of the body of the request.
- The Body property (visible when the POST Method is selected) sets the POST content.
- Finally, the “onResponse” lets will fire when the request is completed. It will contain any data returned by the request.
Root JSON data returned will be split out into separate fields accessible through the wire. For instance, if the returned JSON data contains a field called ‘name’, the value returned can be accessed in a wire using the
<name>field. For non-JSON data, data will be returned in a simple<text>field.