¶ Webhook Alerts Plugin
The Webhook Alerts plugin generates URLs that activate alerts when visited. With this plugin, you can create alerts that will be triggered whenever a visitor goes to a specific URL. For instance, you could ask your viewers to visit your blog, homepage, or Etsy store, and when they click on the given link, an alert will be activated on your stream. In addition, the generated URLs can also be used with automation services like “If This Then That” (http://ifttt.com) to trigger alerts based on a wide variety of events.
For creative examples on using the Webhook Alerts plugin with automation services, see the following:
¶ How to install the Webhook Alerts Plugin
Plugins provide users with the ability to tailor PolypopLive according to their individual requirements, by enabling them to install only the specific features they need.
To learn more about the Candy Pack add-on and all the plugins that are included with it click here.
¶ Installing the Webhook Alerts plugin
-
Click on the Plugins button located at the top of the UI.

-
Select The Candy Pack category from the list on the left.

-
Browse through the plugin options and click the "Install" button next to the “Webhook Alerts” plugin.
-
You can now add a Webhooks Alerts source to your Library
¶ To add Webhook Alerts to your project:
-
First, open the Library panel by clicking the + button on the bottom left side of the screen.
-
To pin the Library panel to the UI, click on the pin icon located at the top-right corner of the panel.
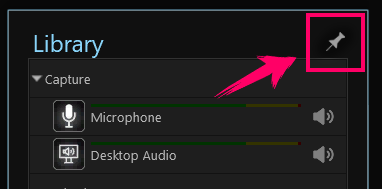
(While this step can make the subsequent stages more convenient, it is not mandatory).
-
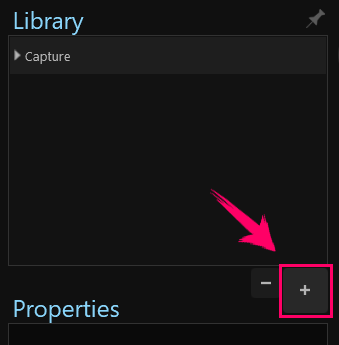
Click the + button on the bottom right of the Library panel.
-
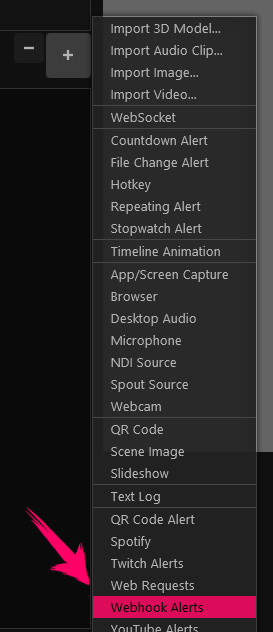
Next, from the menu that appears, click the Webhooks Alerts item.
-
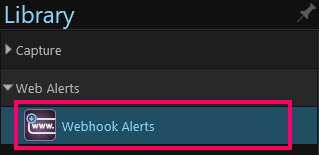
A new “Webhook Alerts” source should be added to your Library.
-
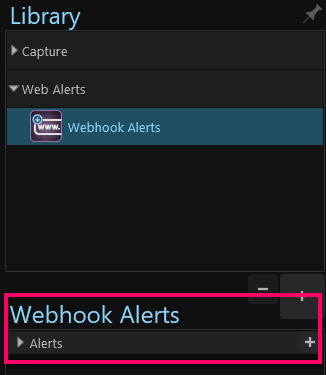
Selecting the Webhook Alerts item will display its properties underneath.
-
Let’s examine each property:
-
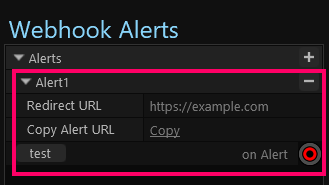
The Redirect URL sets the URL that the visitor will be redirected to when they visit the alert URL.
-
Copy Alert URL will copy the generated alert URL to the clipboard. You can now share the link or use it as needed.
-
Finally, the “on Alert” alert will fire whenever the link (returned by Copy Alert URL) is visited. It contains data including the number of times the link is visited as well as custom data that you can include as part of the URL.
-
-
You can also create additional alerts by clicking the + button next to the root Alerts item.
The generated URL will be in the form:
http://alerts.polypoplive.com/UNIQUE_ID?AlertName=MyCustomData&redirect=https://my-redirect-address.comWhere:
- ‘UNIQUE_ID’ will be an ID unique to your account.
- 'AlertName' will correlate to the name of the alert (e.g. Alert1 in our example above)
- ‘MyCustomData’ can be whatever data you’d like to pass through to the firing alert (in the wire’s field)
- Finally ‘redirect’ will equal the Redirect URL set in the properties.